


I’m a big fan of sculptural white art and objects, I find myself drawn to them like a moth to a flame. Over the years I’ve spotlighted favorites, like how much I love botanical bas relief or that time I made these clay jewelry holders. I even find myself sculpting ceramic bowls to look like ripples in sand.
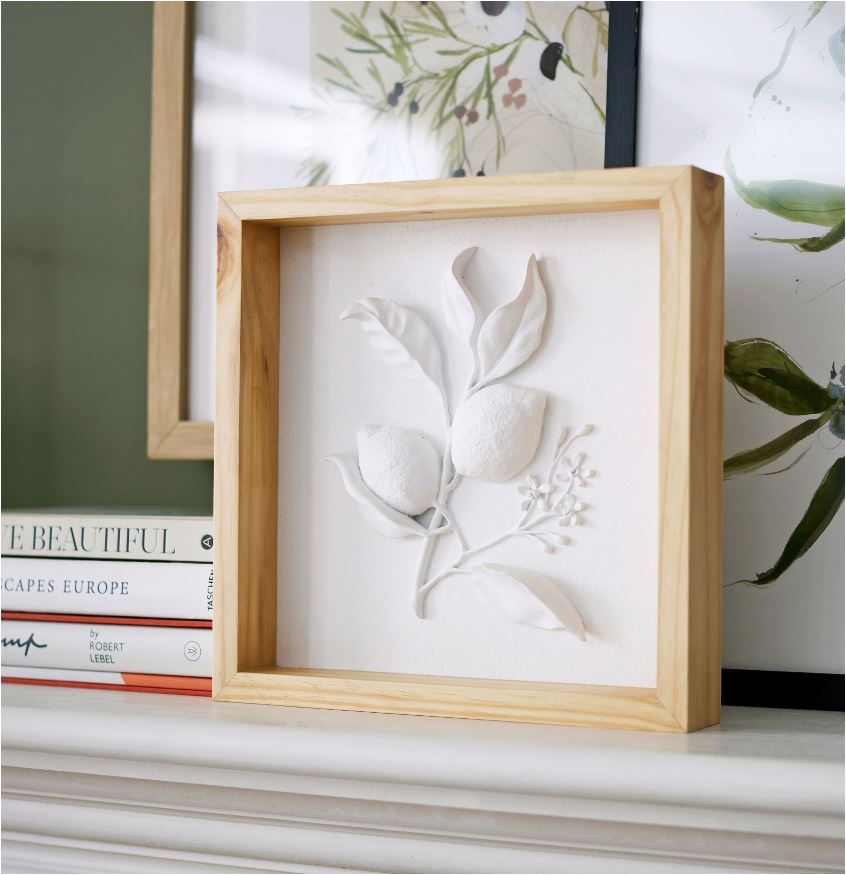
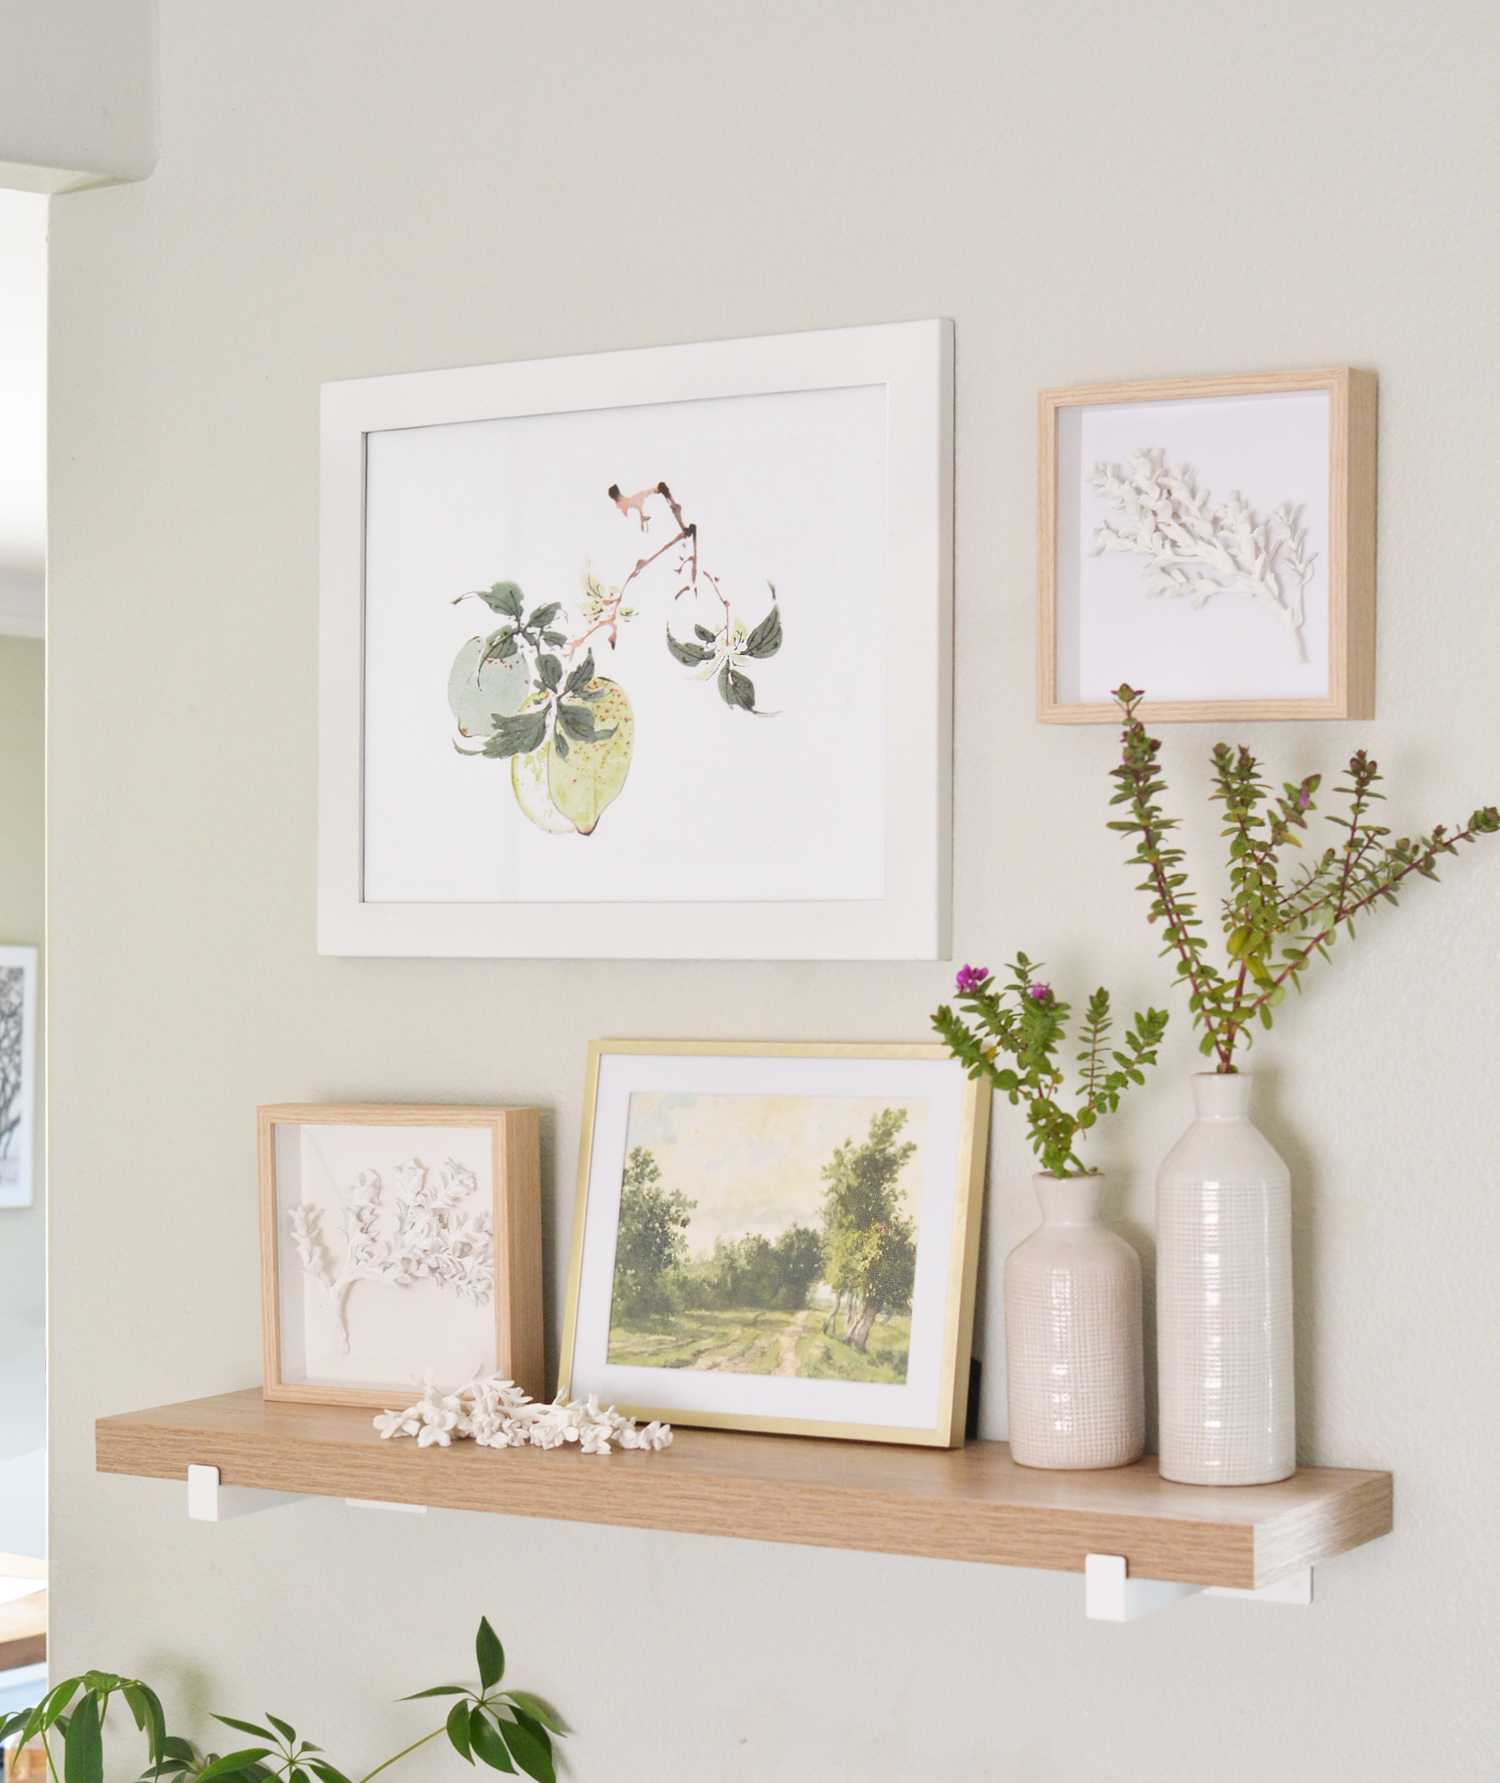
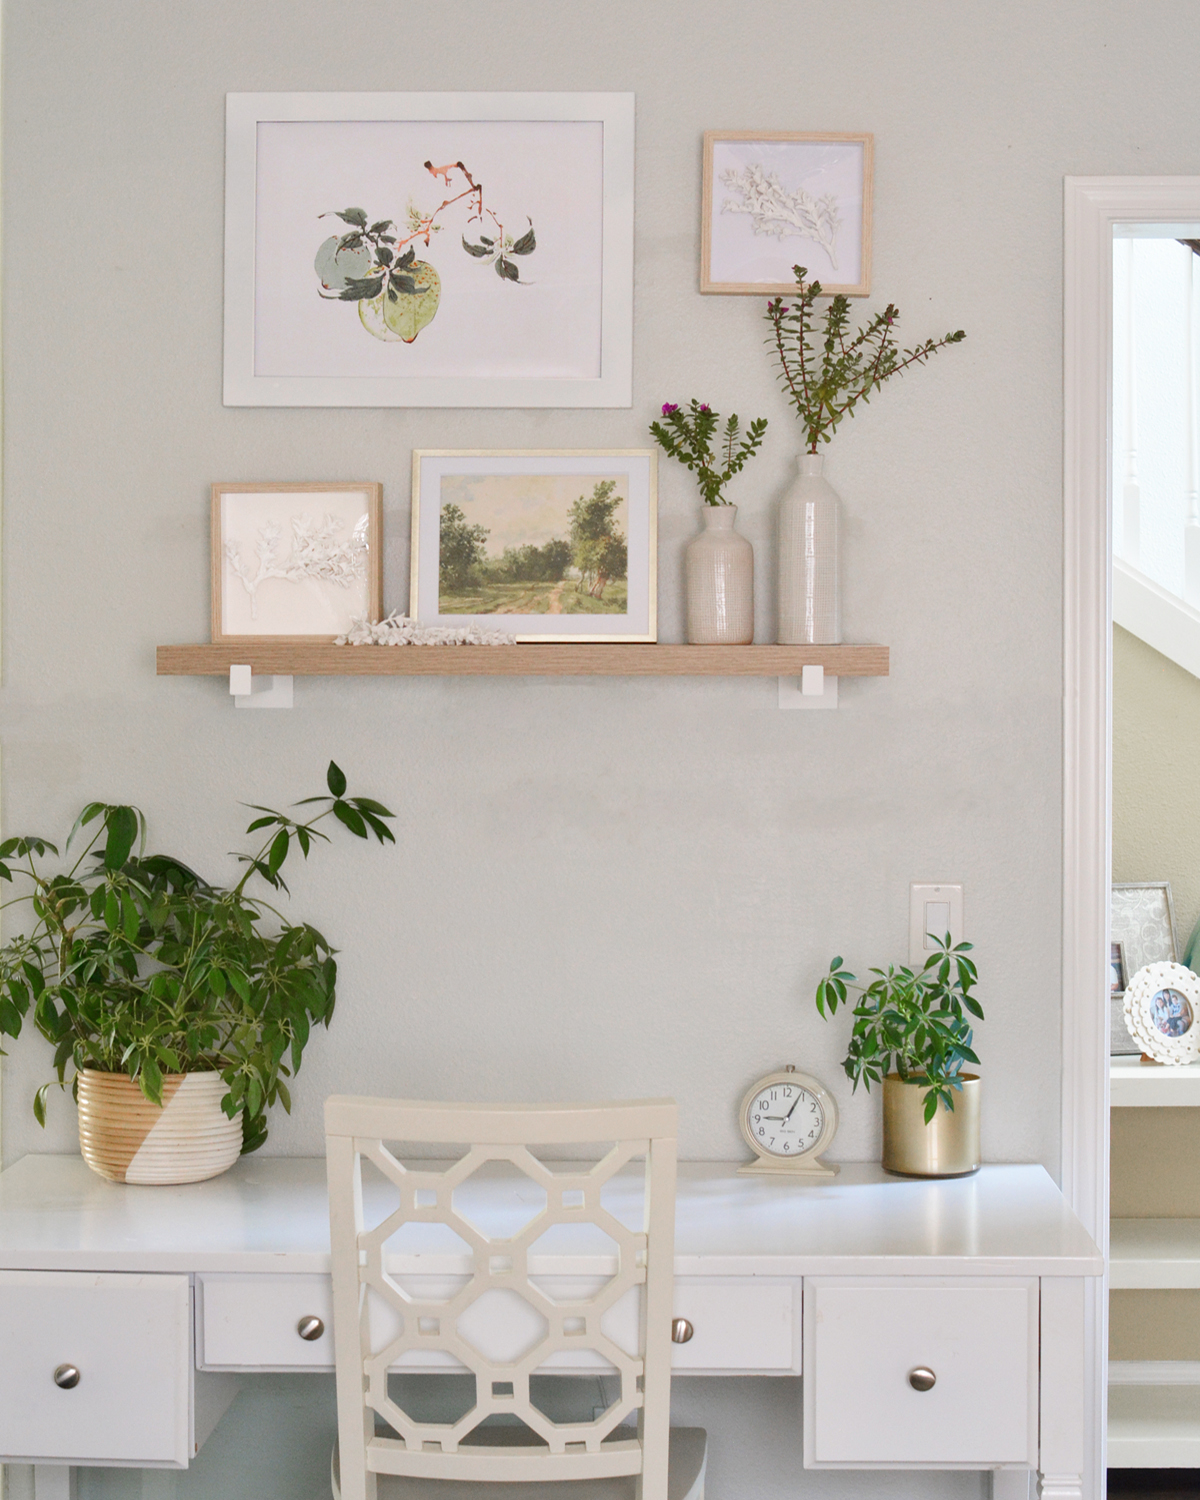
I set my mind on giving a little corner of our home a glow up, specifically the wall above the family’s laptop desk. I wanted to add a few art prints but also something interesting and dimensional. In my search for something beyond just framed art, I spied this shadow box botanical art at Pottery Barn and thought I’d make myself a far less expensive DIY version.
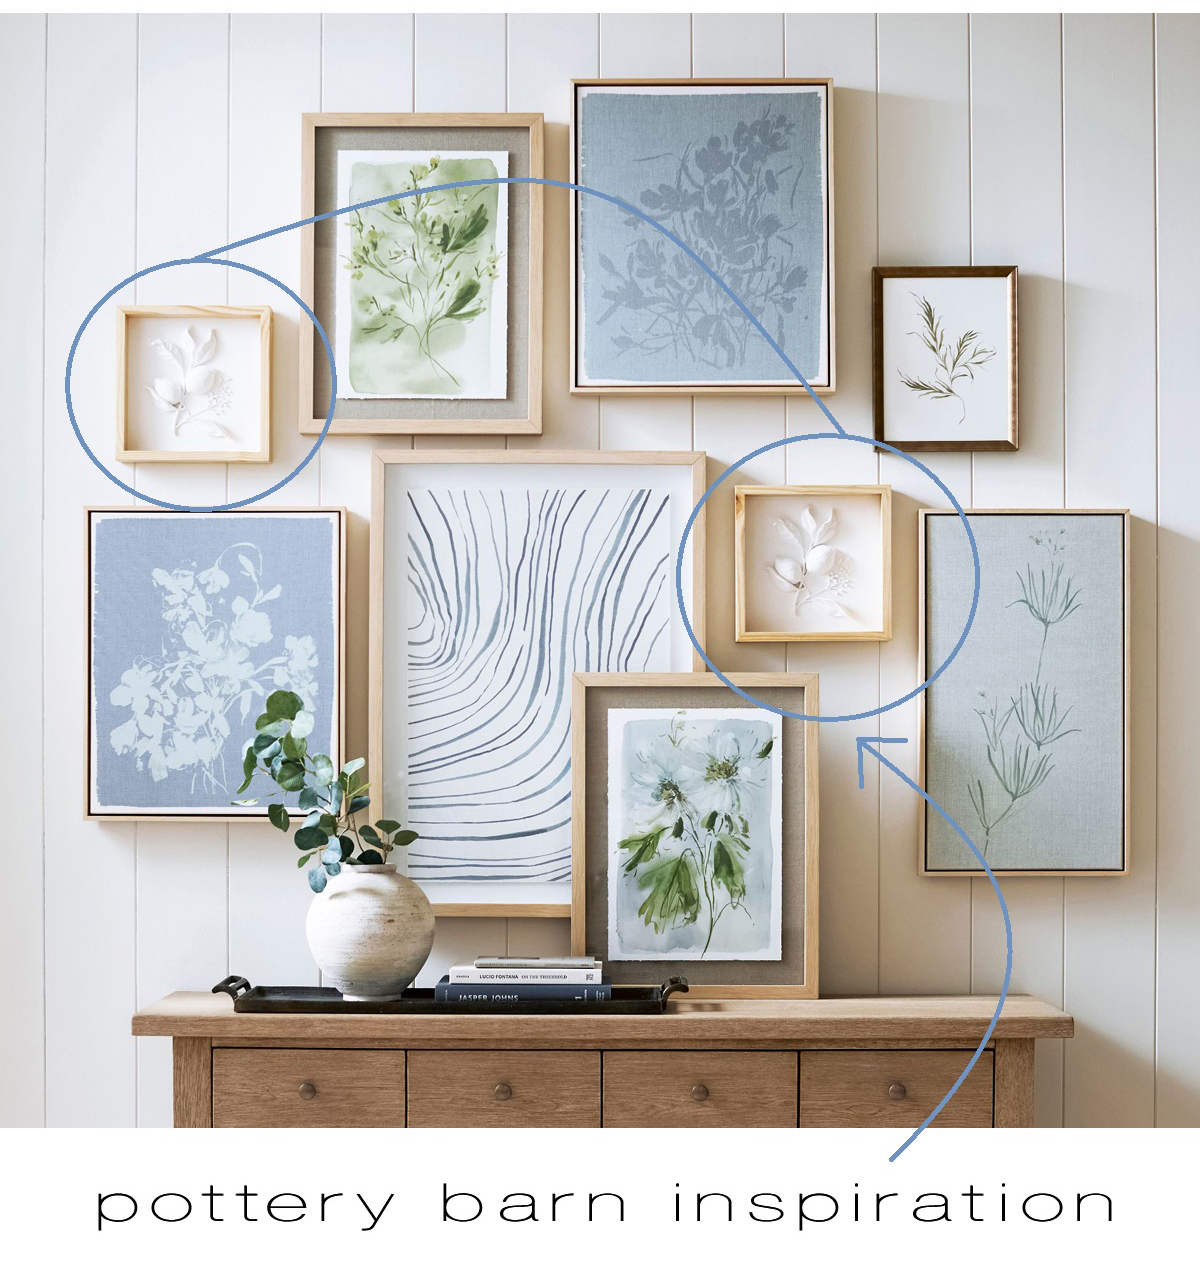
My version turned out very similar, but I used faux boxwood branches instead to create my artwork.
The process was pretty simple, there’s only a few things you need to recreate this art project: a set of 8” shadow boxes, boxwood (or similar) faux botanical stems, plaster of paris, white spray paint or white spray primer, mixing bucket, and a hot glue gun.
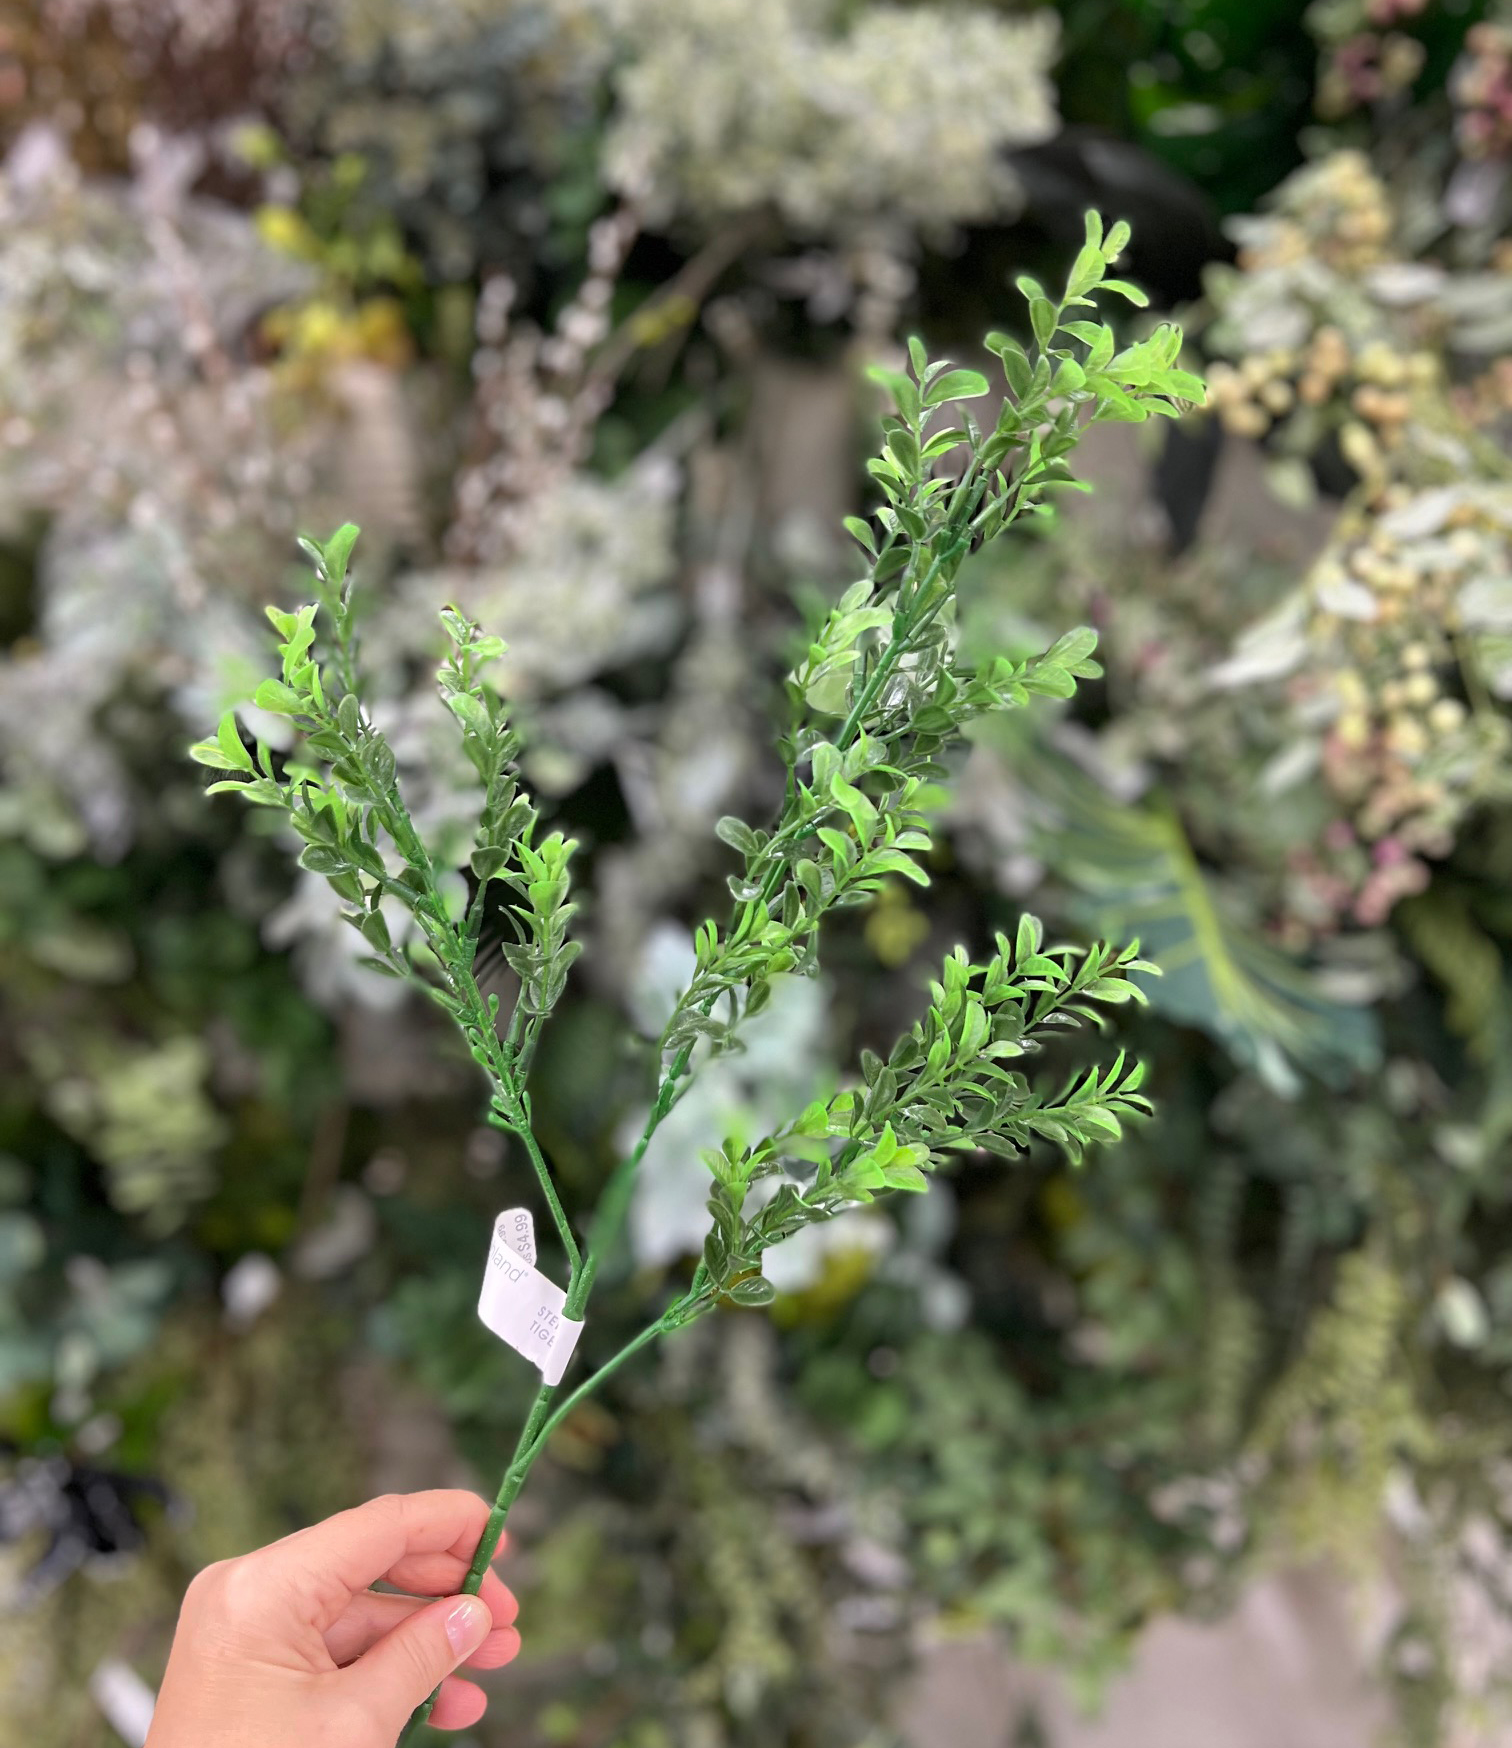
Once the shadow boxes arrived (2 day delivery on Amazon) I went to Michaels in search of botanicals that would fit inside my frames. I settled on one $5 boxwood stem, brought it home and clipped it into three parts.
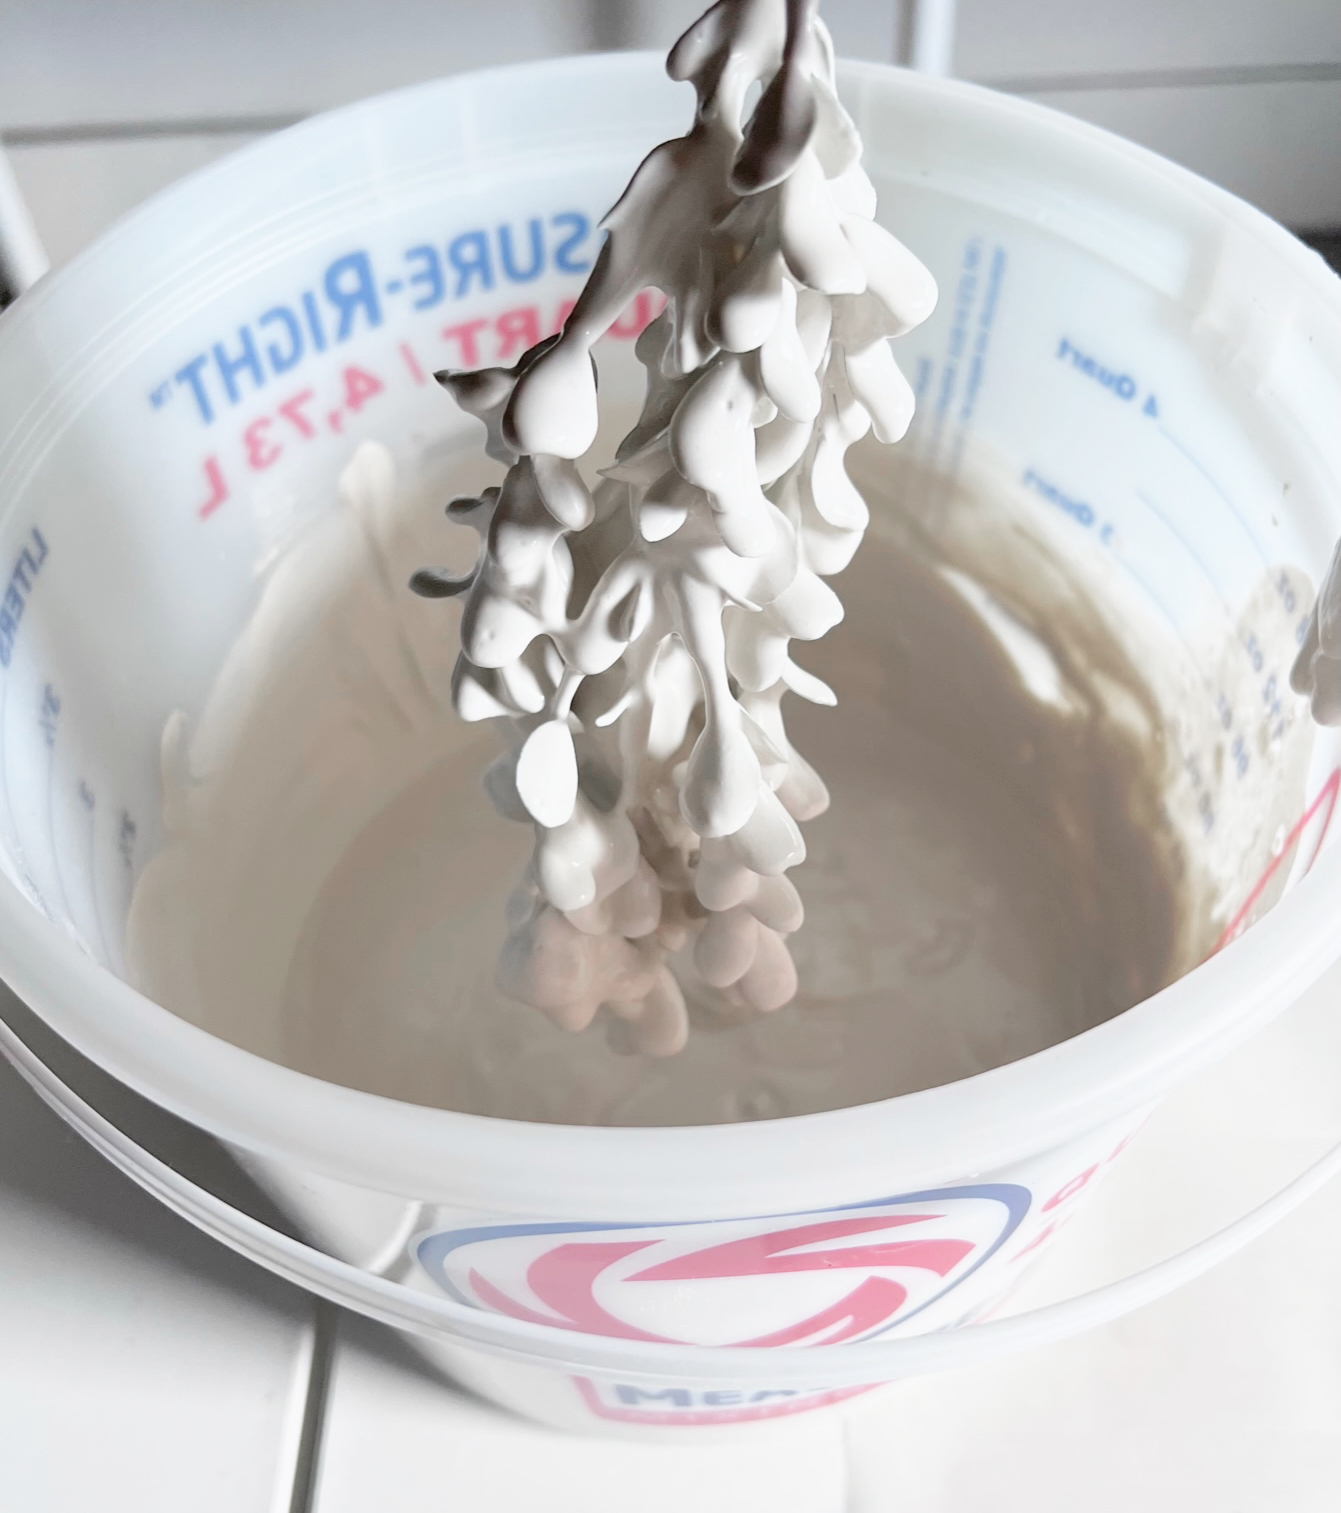
I dipped the stems in plaster of paris and let it dry on wax paper. A little tip on dipping, make sure you gently shake the stem for about 60 seconds so as much of the excess drips back into your bucket of plaster. You may have to repeat this two or three times to get full coverage.
Next layer the dipped stems on one sheet of wax paper and try to make it as spread out and flat as possible. Once the plaster sets for about ten minutes, move the stems to a second piece of wax paper to fully dry. I allowed mine to dry a full 24 hours until they were stiff.
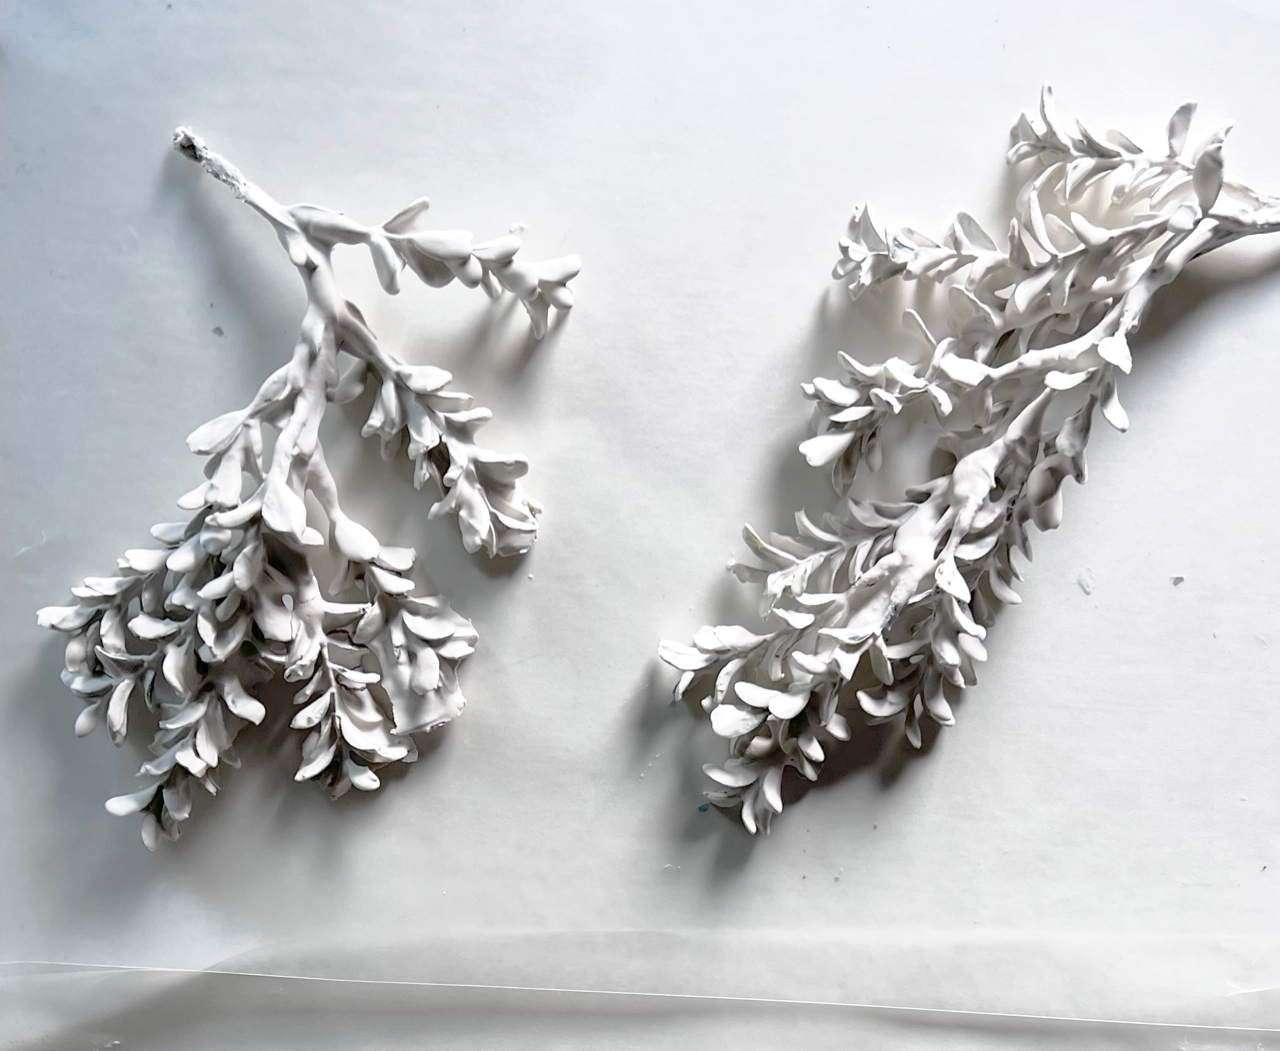
Be careful when moving them, they plaster will break off if you’re too rough with them. Once the plaster was dry I moved the stems to small pieces of cardboard then spray painted them with white primer to give them a matte finish, and also to fill in any gaps where the plaster didn’t attach, so the stems would be white all over.
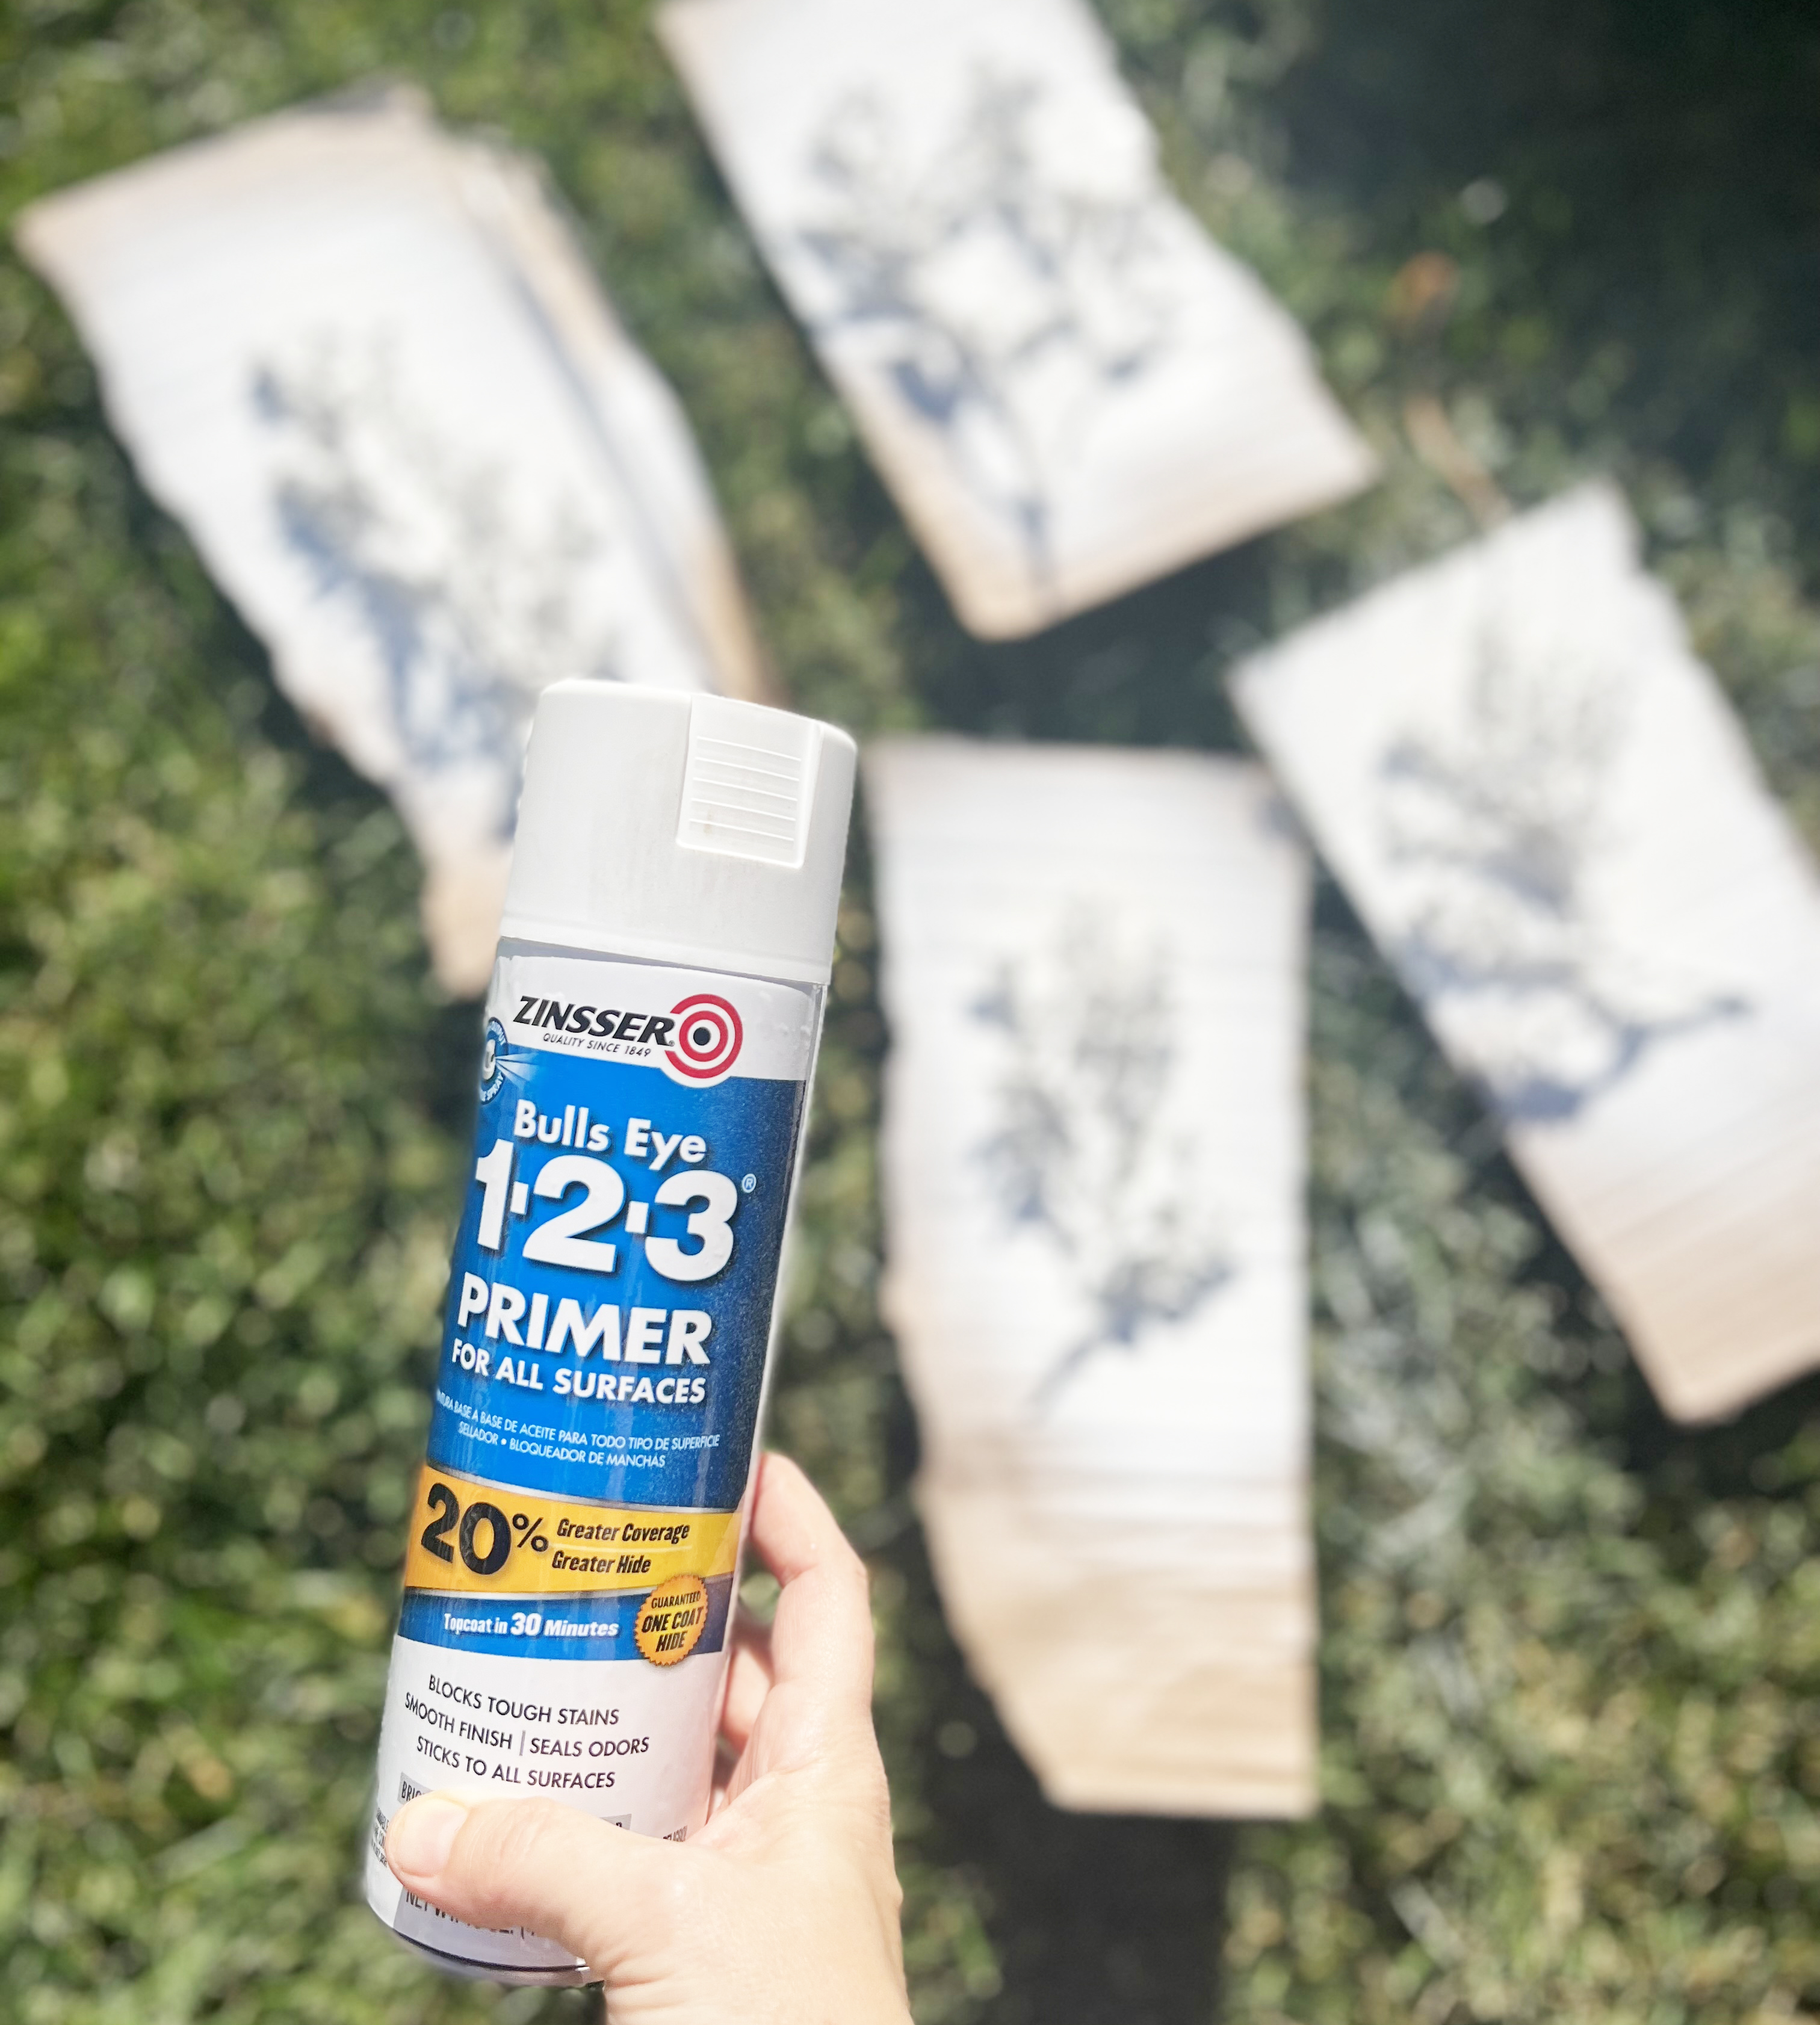
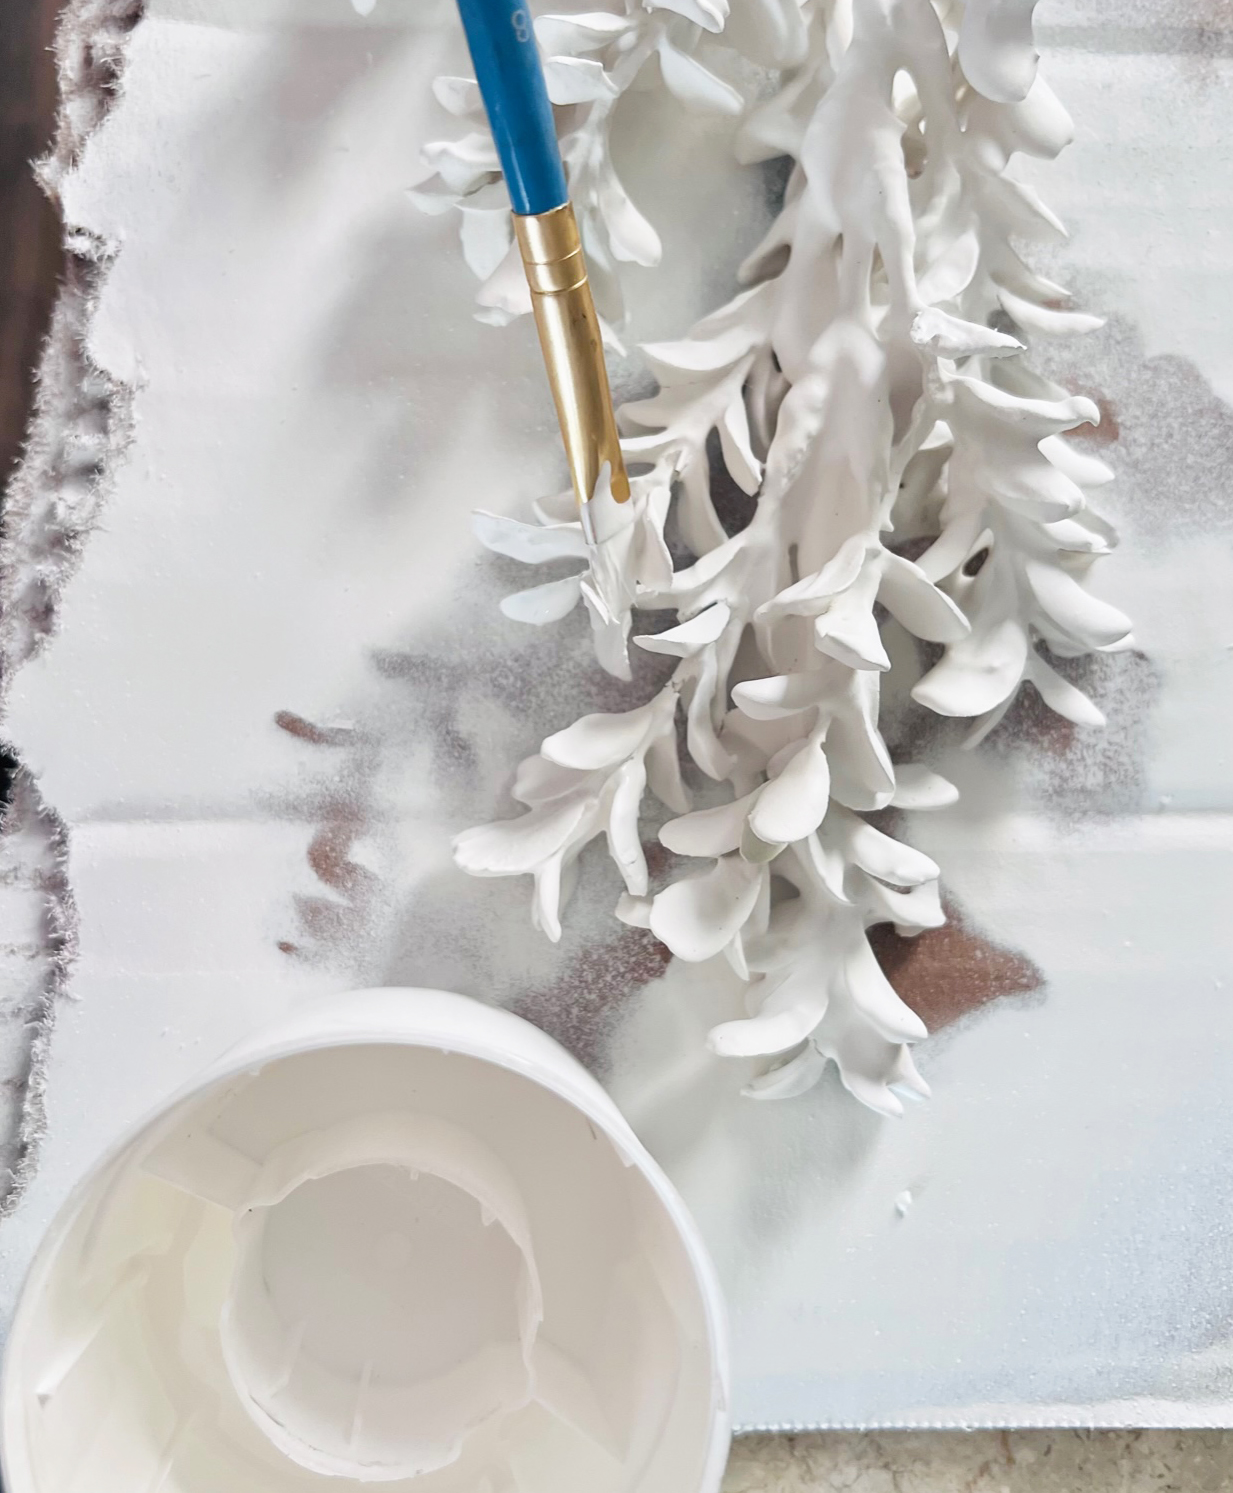
Another tip: if there are gaps in the spray painted plaster stems, spray a small amount of the spray paint into its cap and touch up the plaster dipped stem with the paint on the brush.
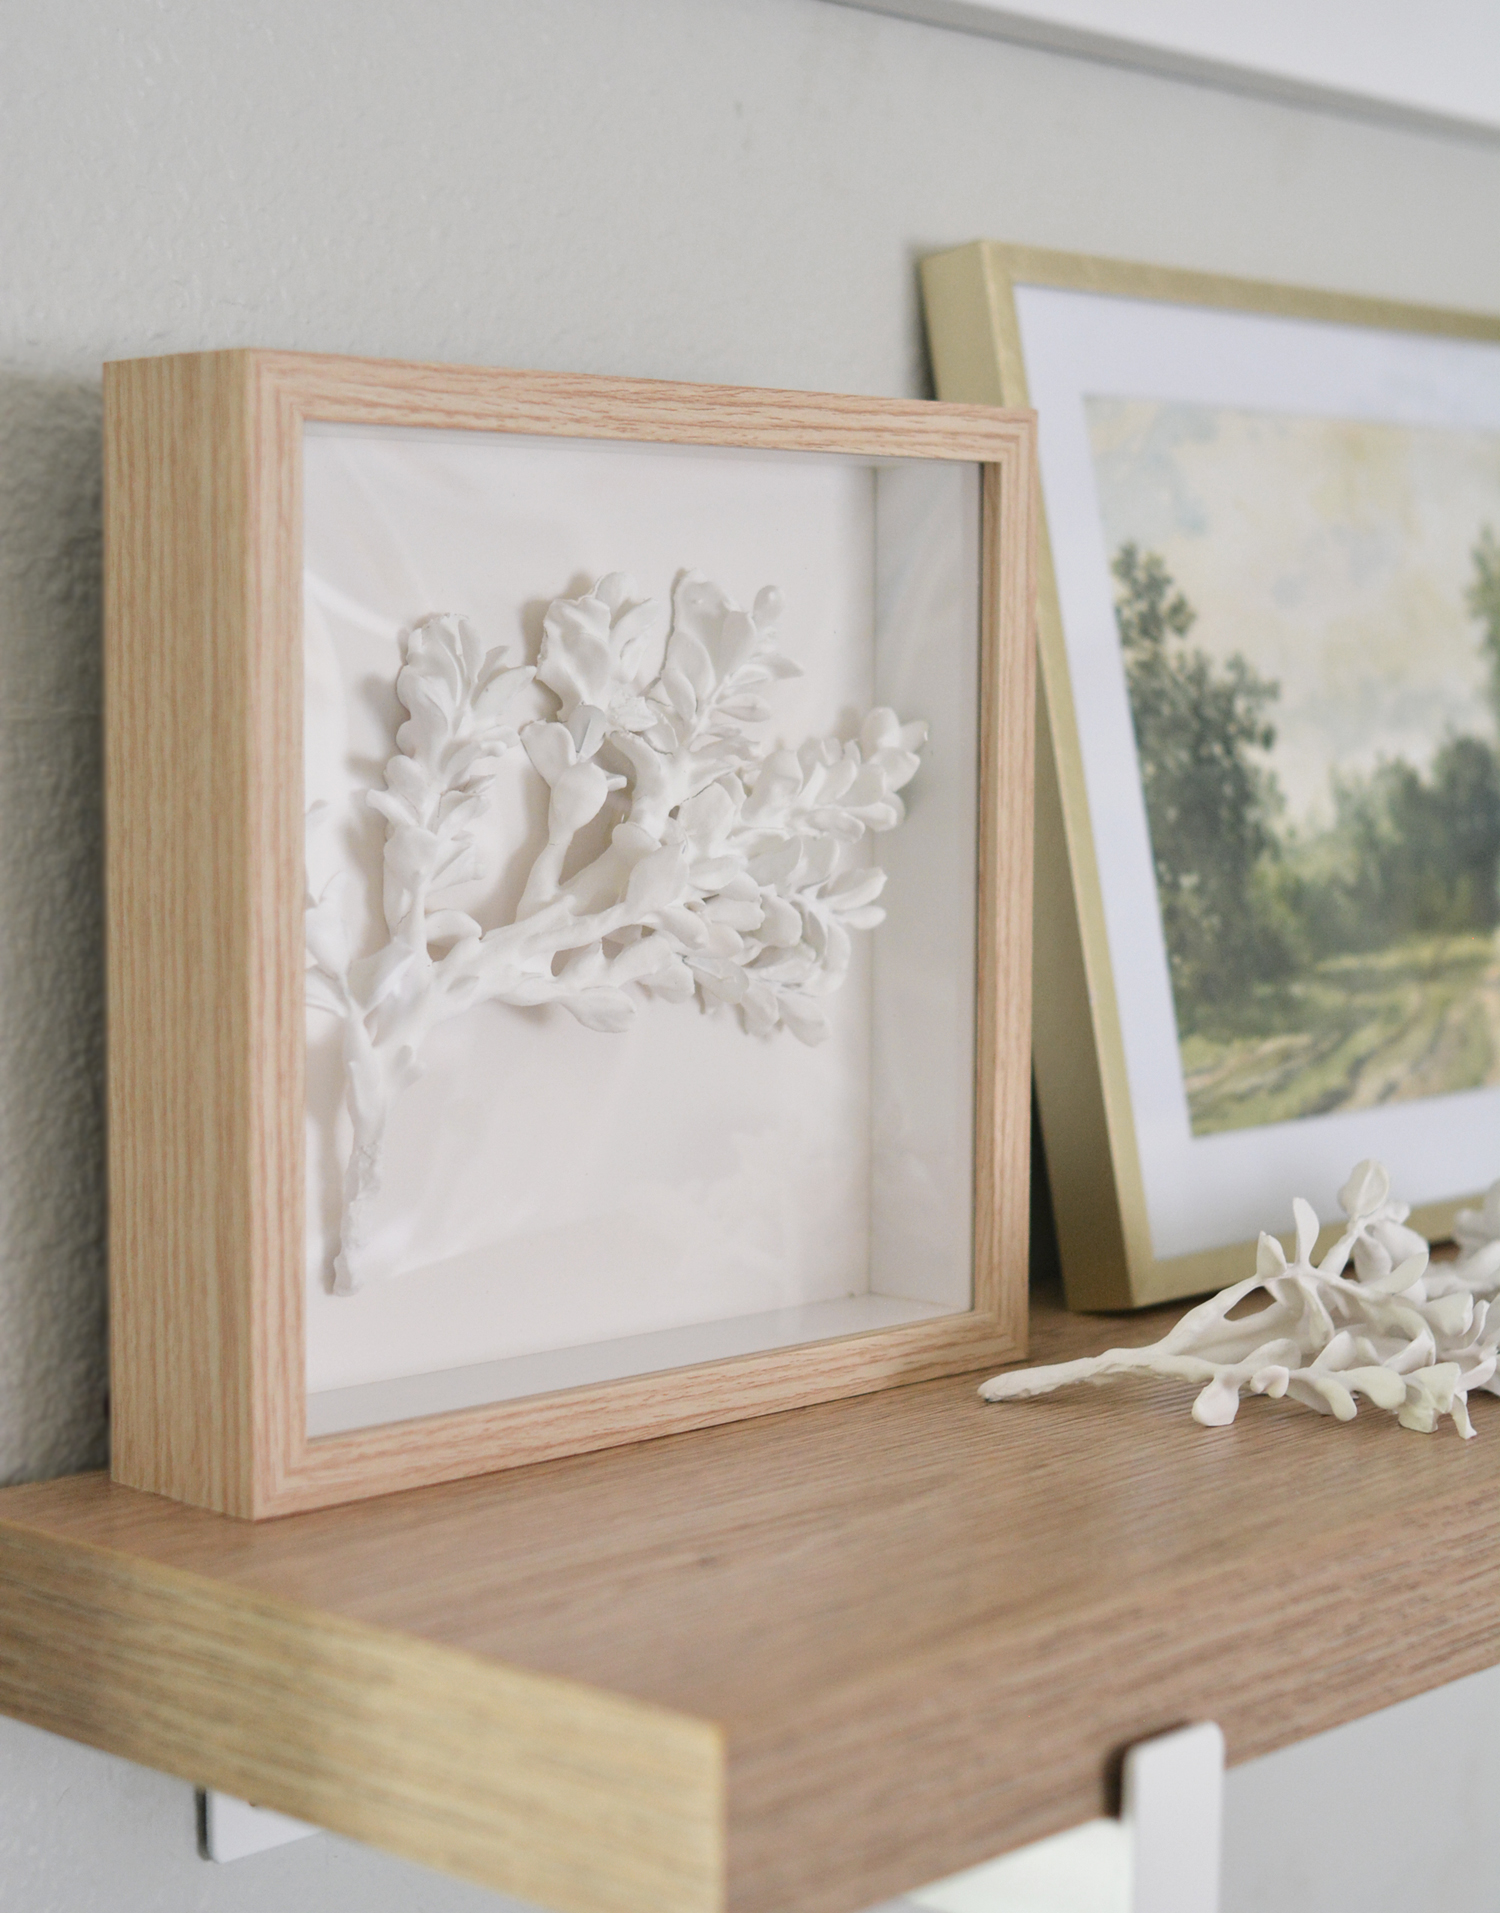
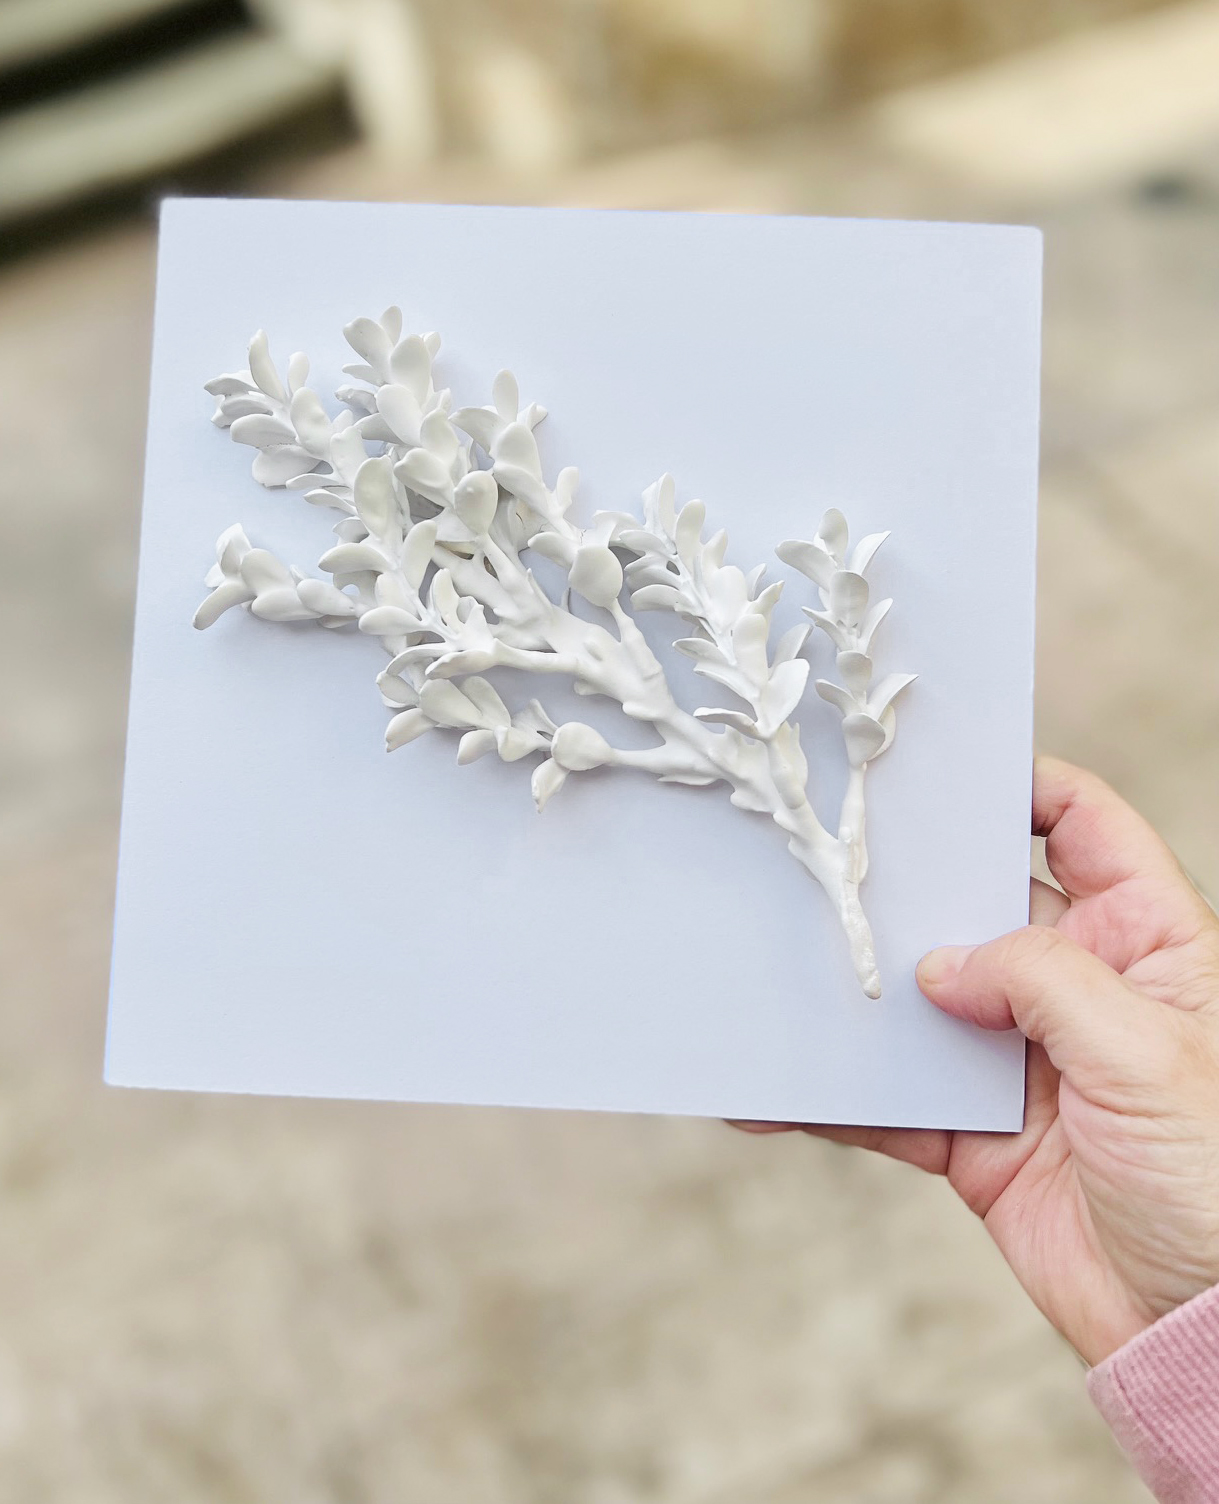
Once the spray paint was dry I used hot glue to attach the plaster covered painted stems to the back of the shadow box, then carefully reassembled them. I’m posting a video on Instagram so you can see the process there too.
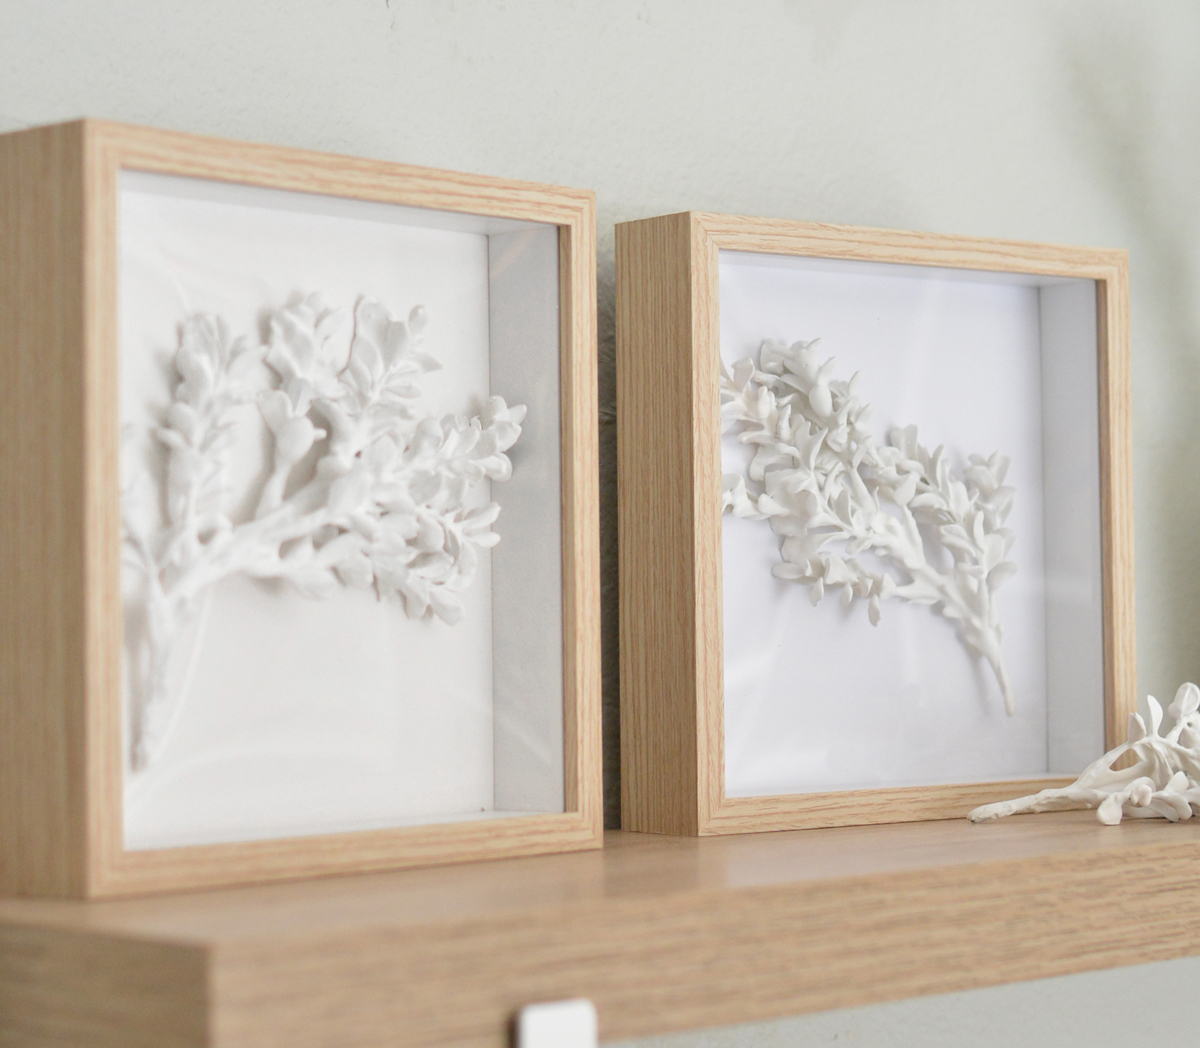
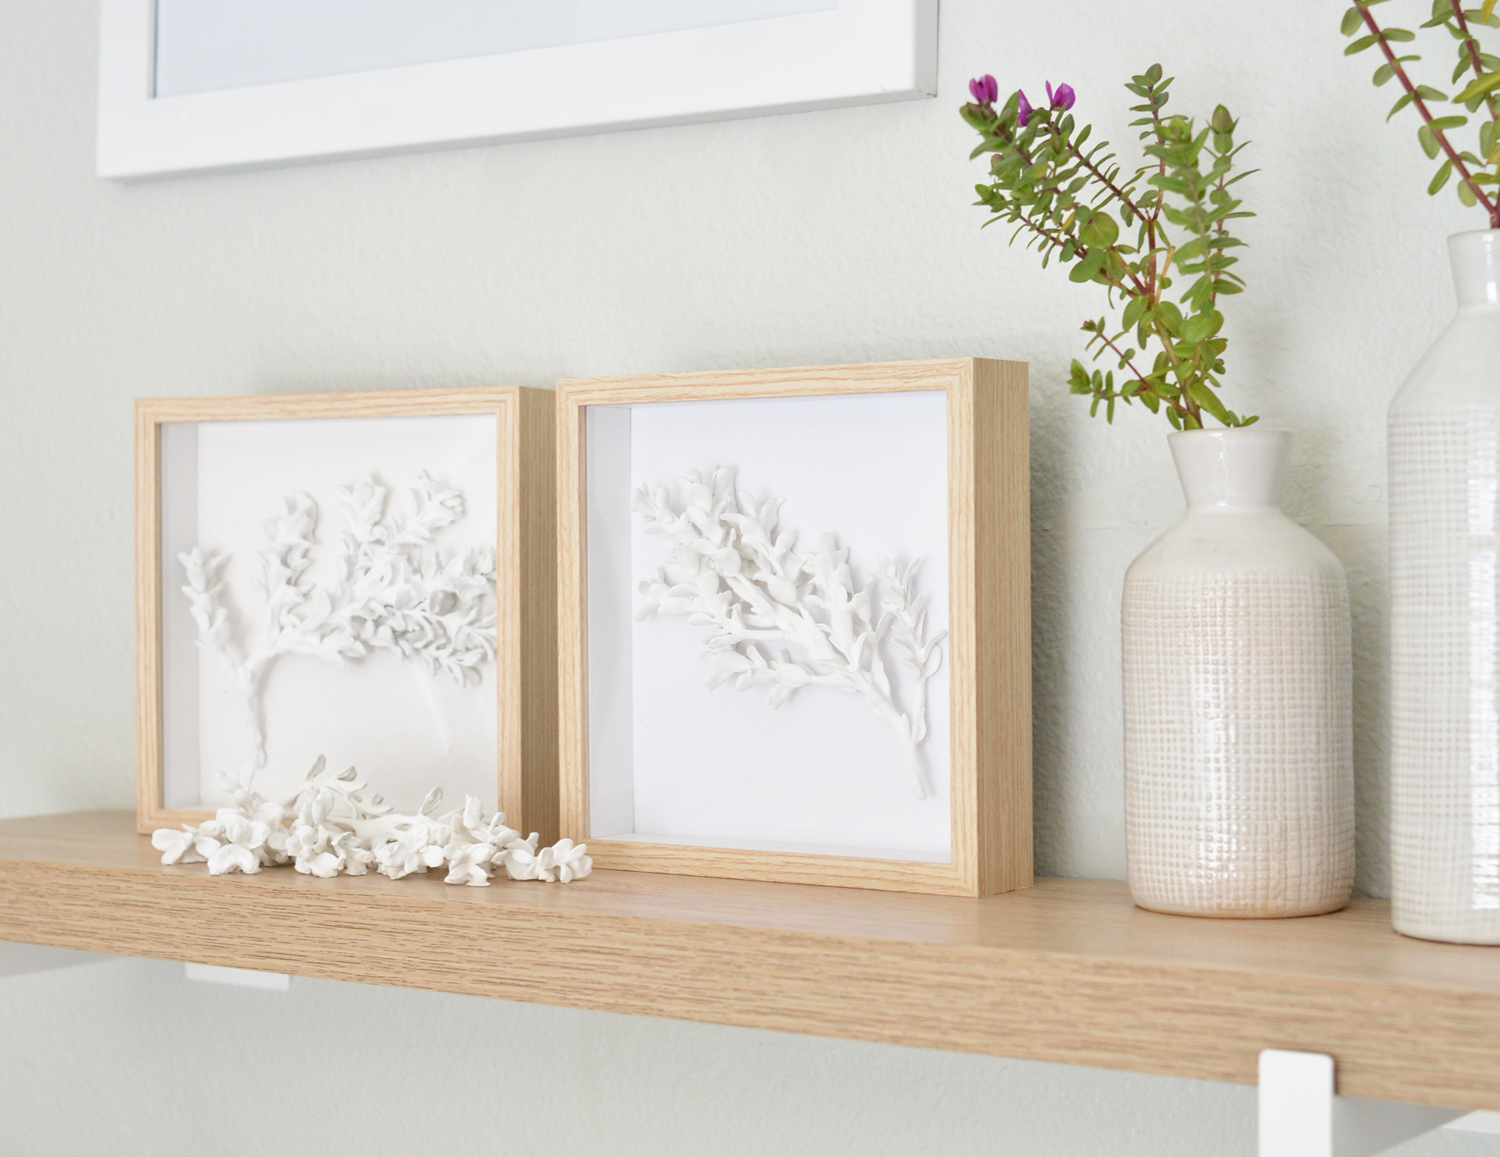
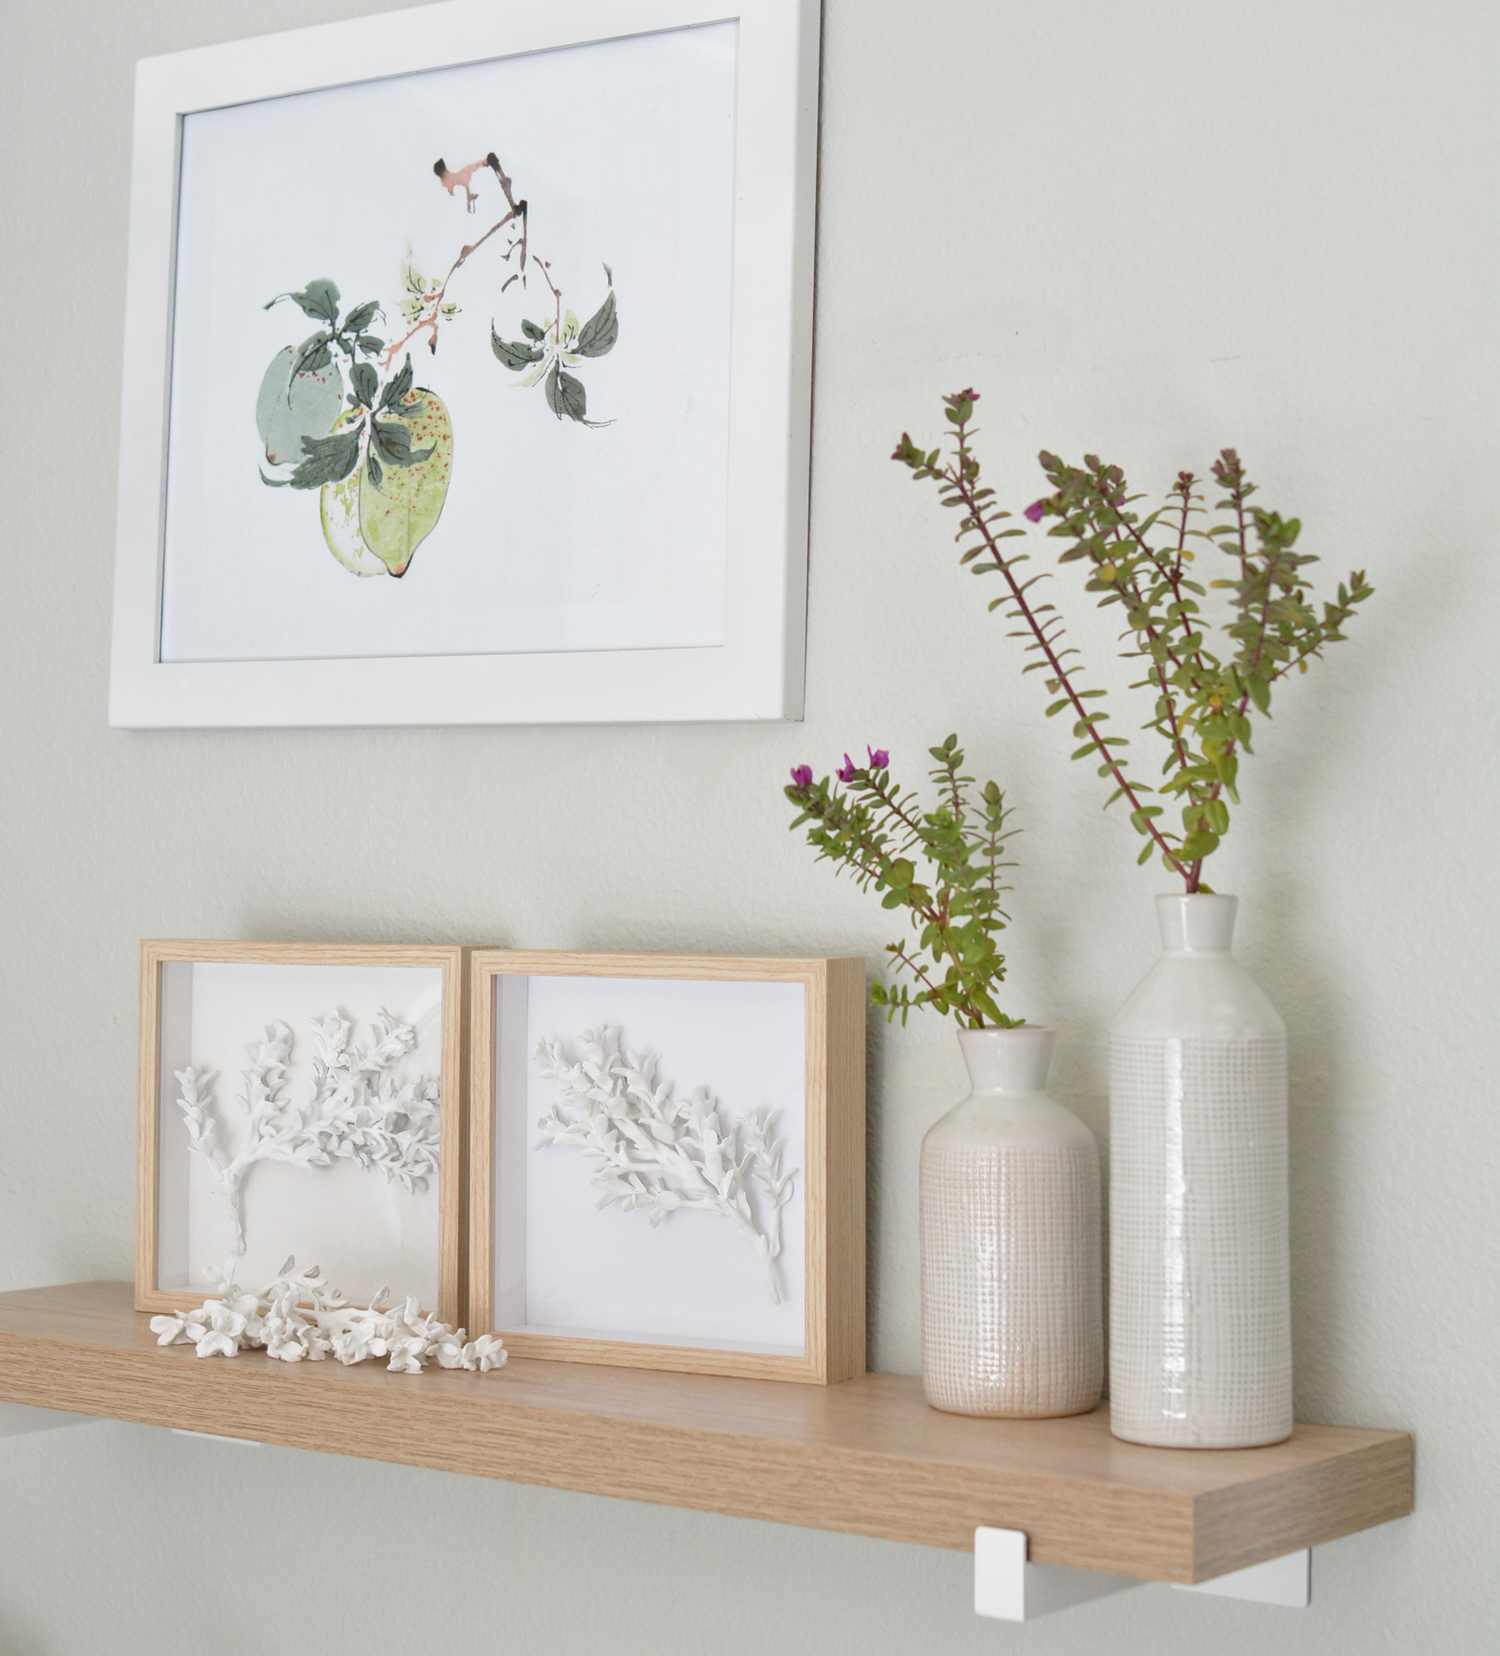
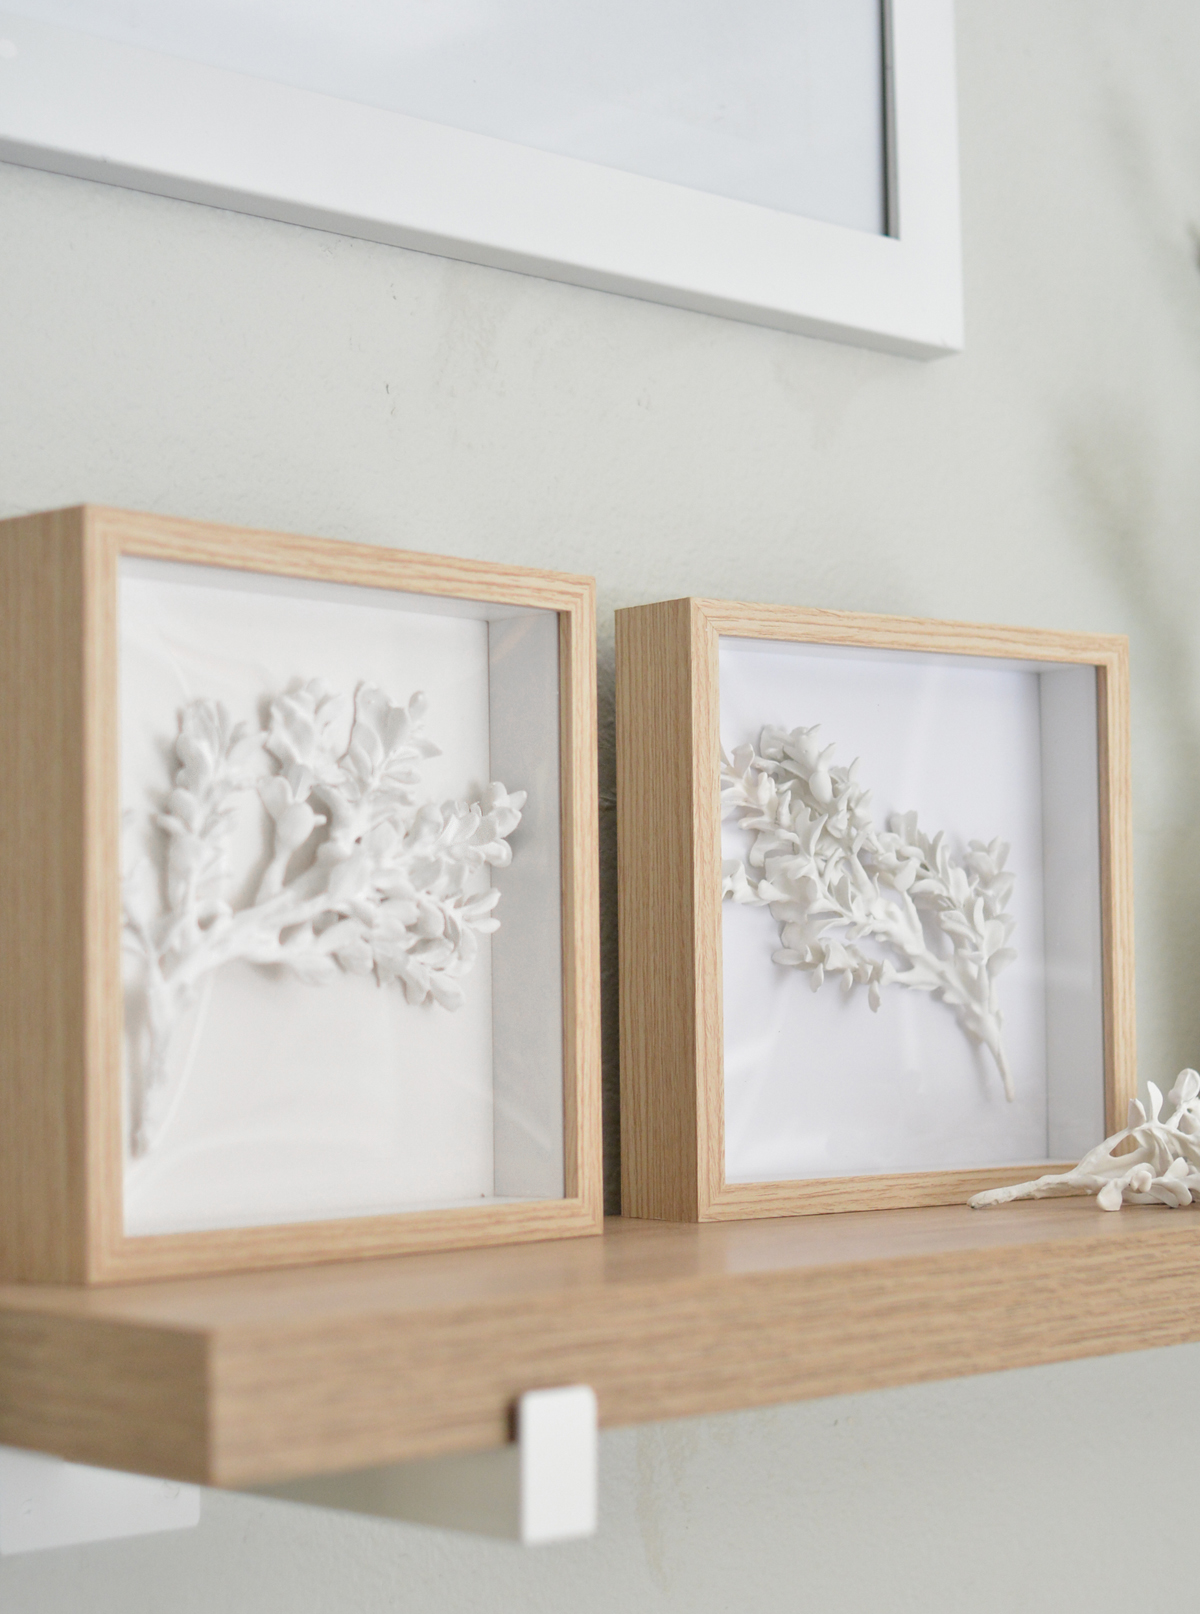
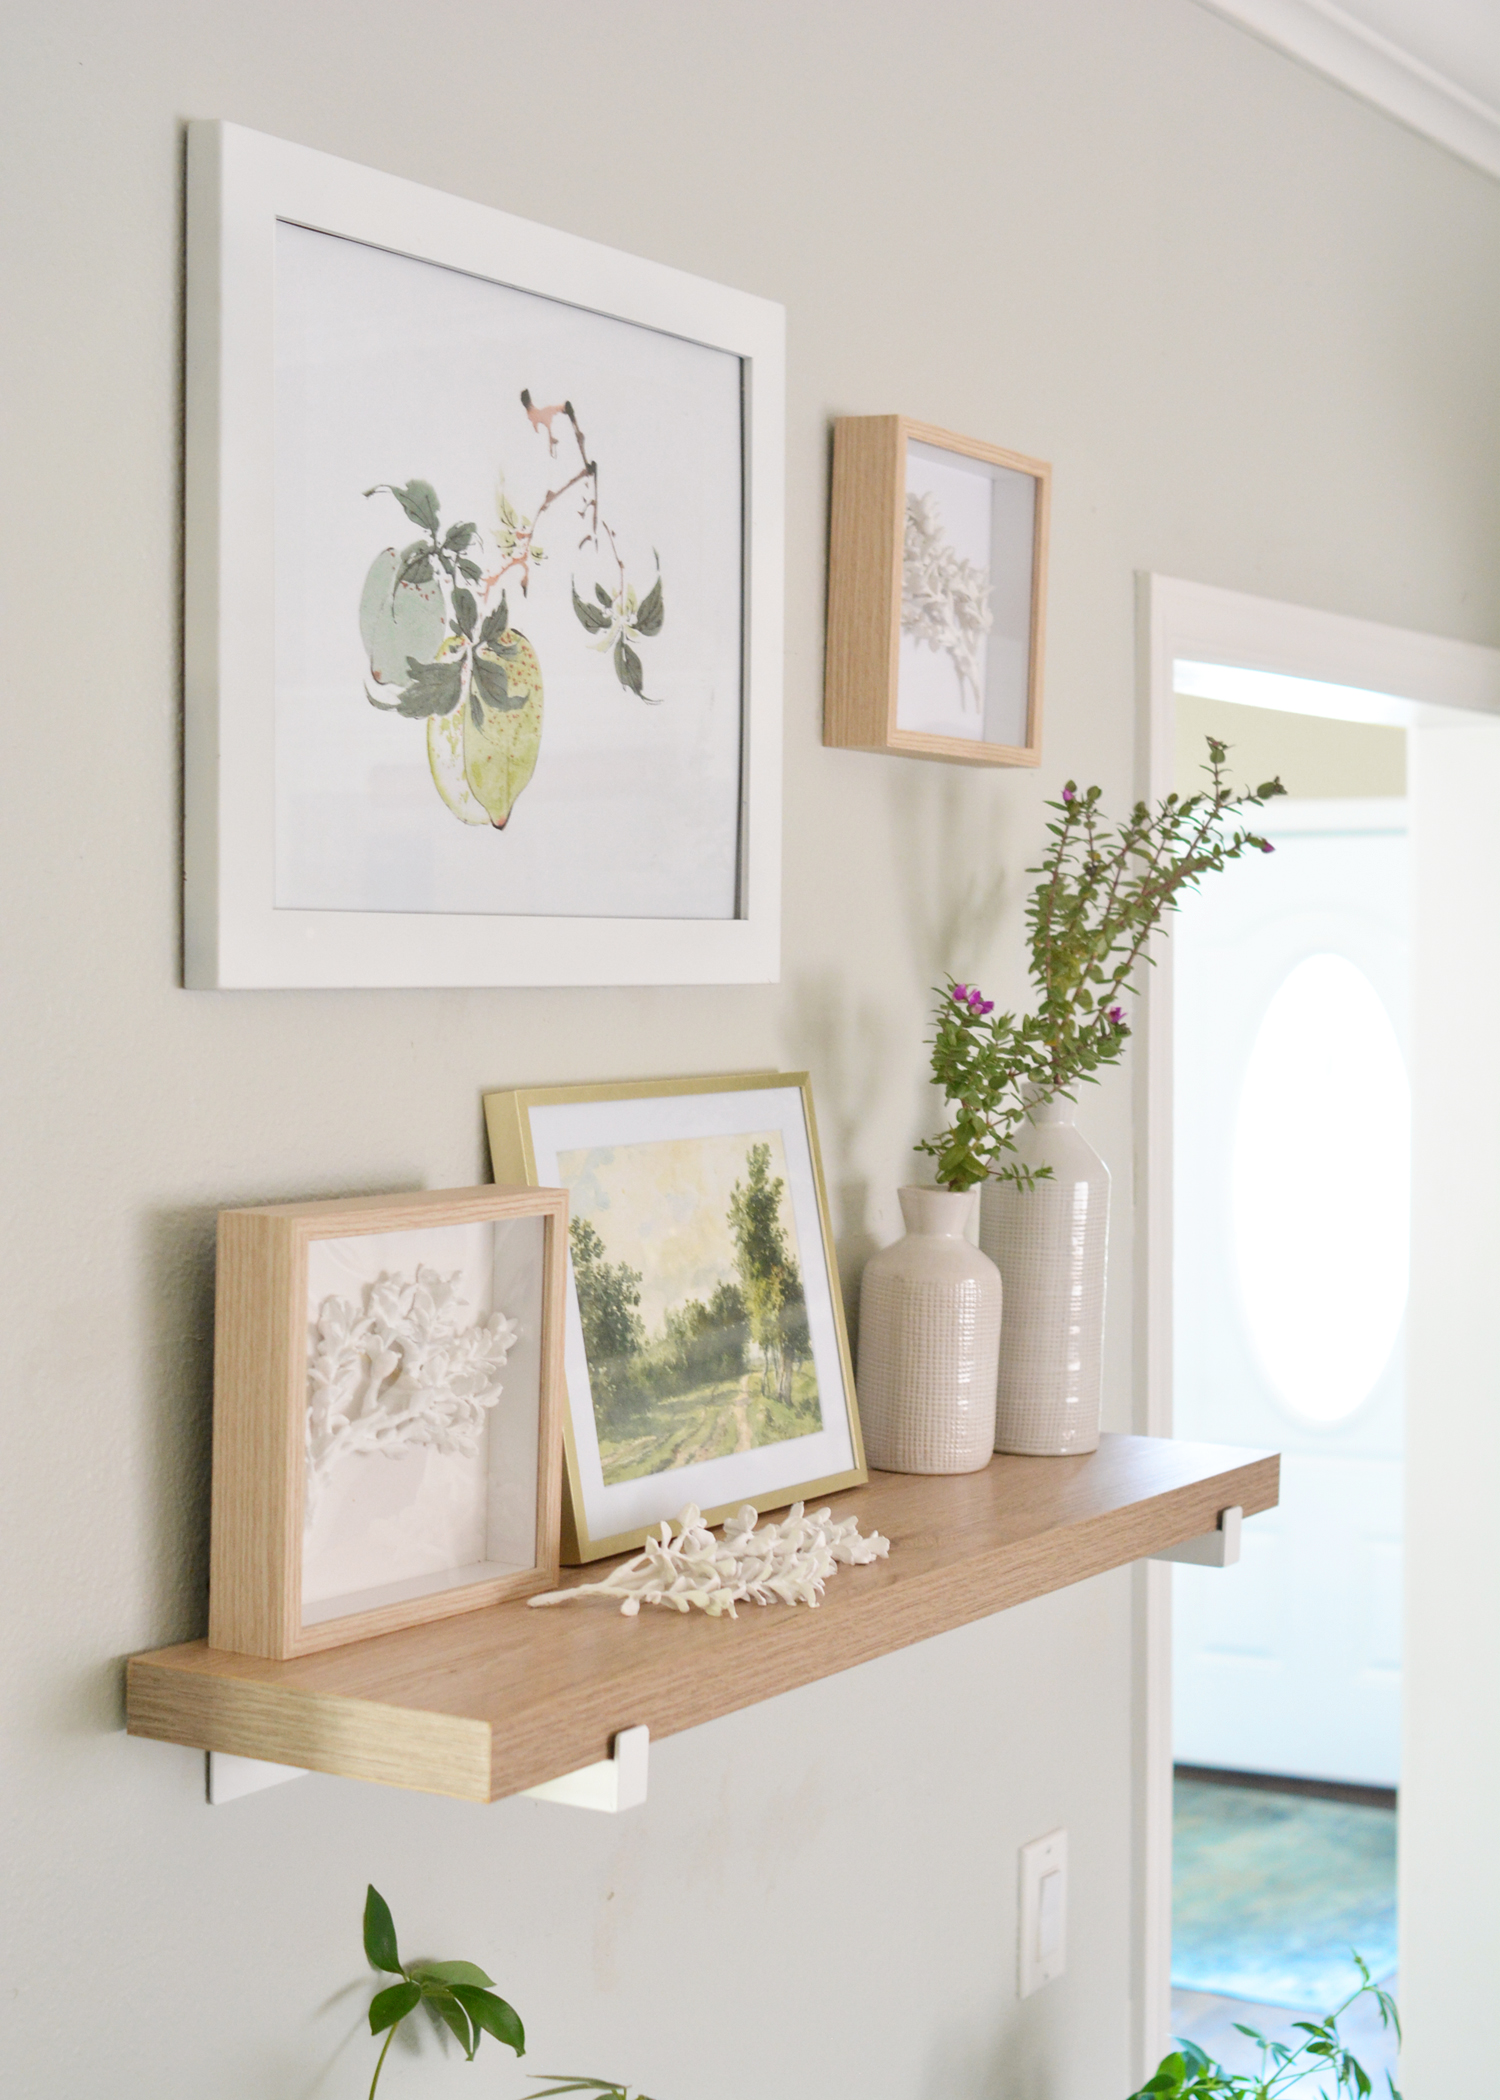
This was my final arrangement with the set, one on the shelf and one hung on the wall. I added an extra plaster dipped boxwood stem as sculptural art on the shelf.
I love their look and they cost me only $30 for the pair, a lot less than Pottery Barn’s price tag which is $79 each!

