


How to make the cutest and (fluffiest!) yarn wrapped Christmas tree decor.
This is one of my easiest holiday DIYs yet! These Styrofoam yarn trees can be changed up with any material you’d like to use.
I wanted some new holiday decor for our basement but didn’t want to spend a ton of money — I came up with this idea and they turned out better than I imagined.
At first I was going to use basic yarn on Styrofoam cones, but wanted a fluffier look.
Enter this finger knit yarn I’ve had forever — for the blanket I still haven’t made yet, ha!:
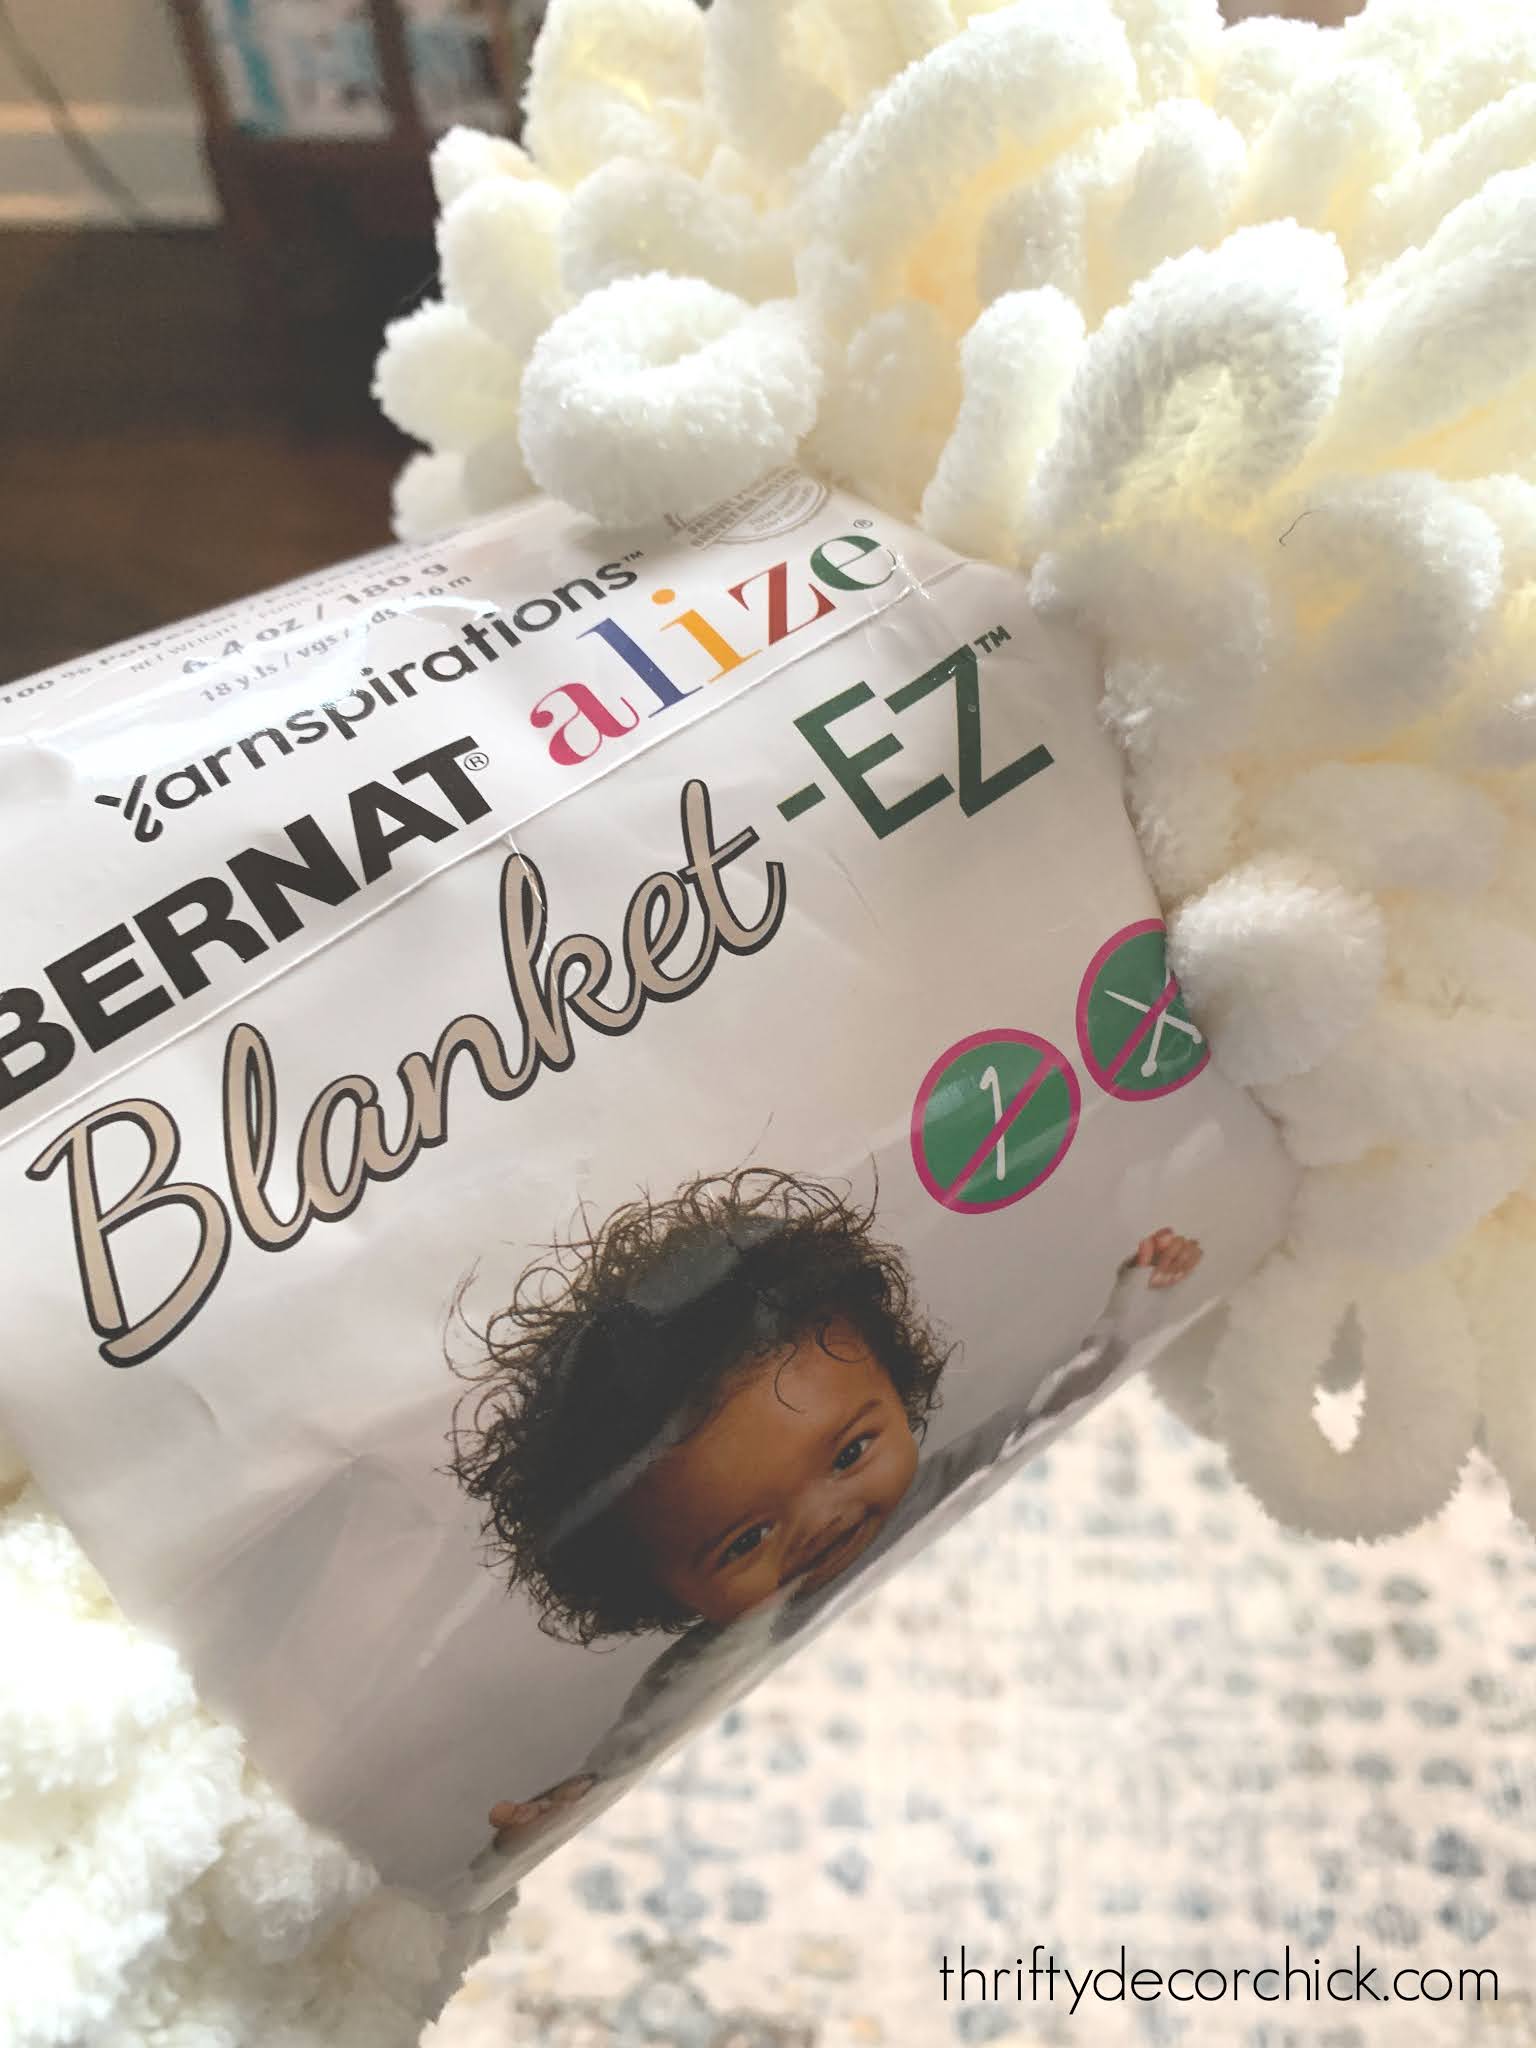
It is SO so soft and fluffy and I had an idea — I wondered how it would work wound around the cones instead of regular yarn. Well, I’ll tell you…it worked ADORABLE. 😁
This post may contain affiliate links for your convenience.
See my policies and disclosure page for more information.
These DIY yarn Christmas trees are quick to make with just a few easy steps.
I started with basic craft foam forms:
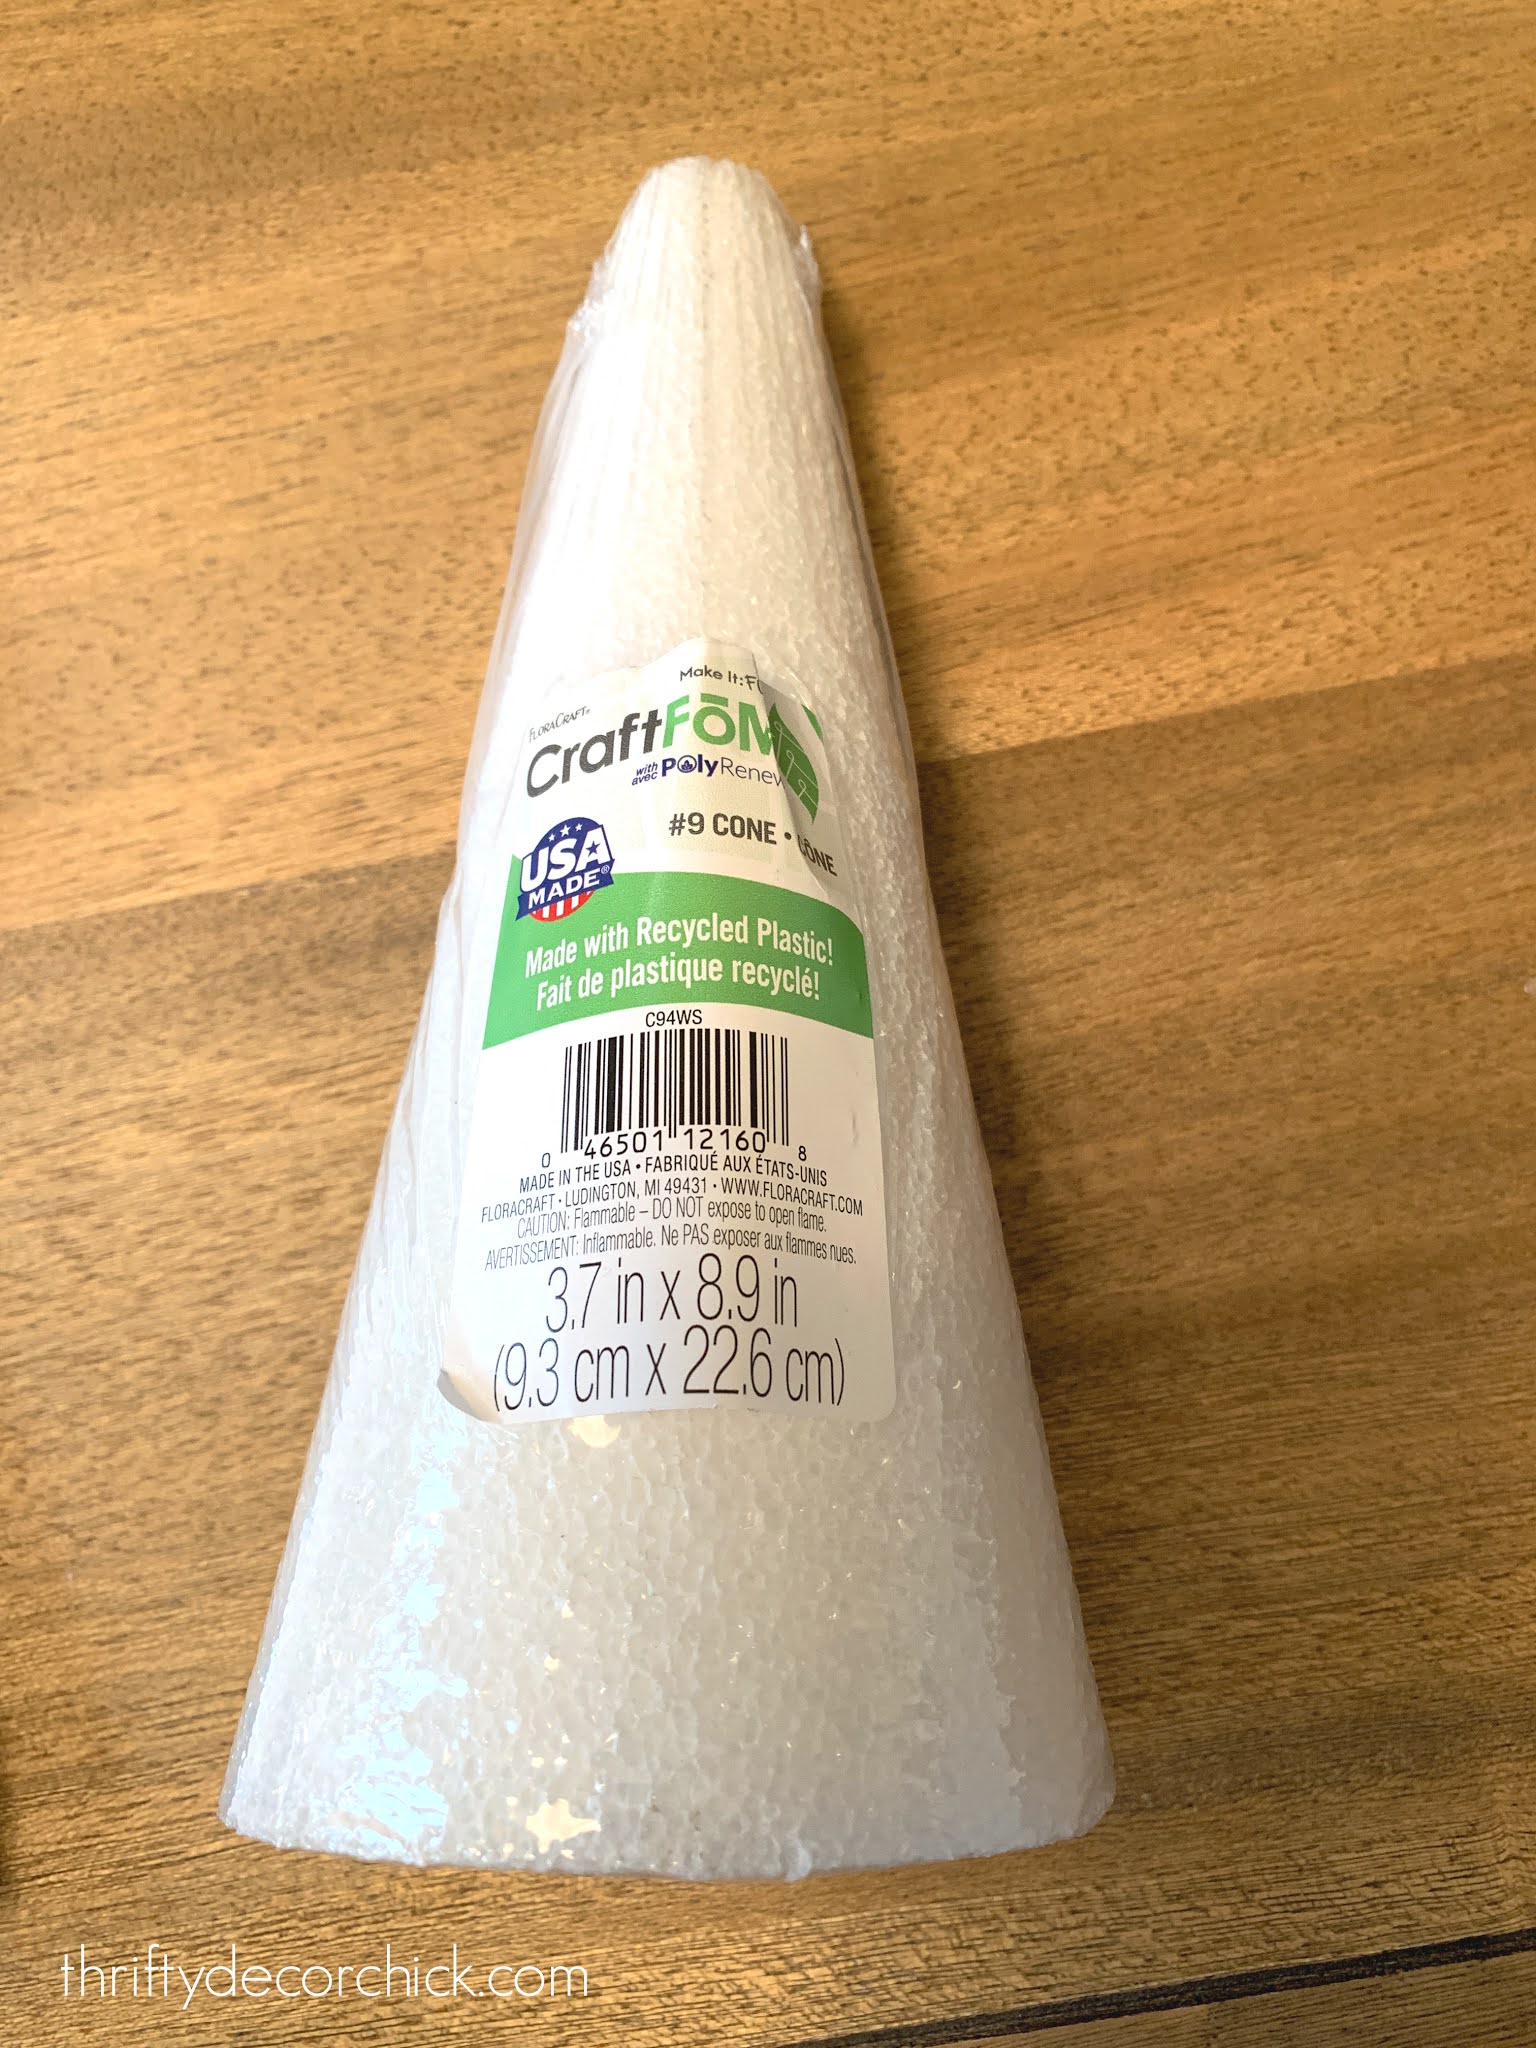
I got my yarn and foam cones from Michael’s.
And used my hot glue gun to attach the yard at the bottom of the cone first:
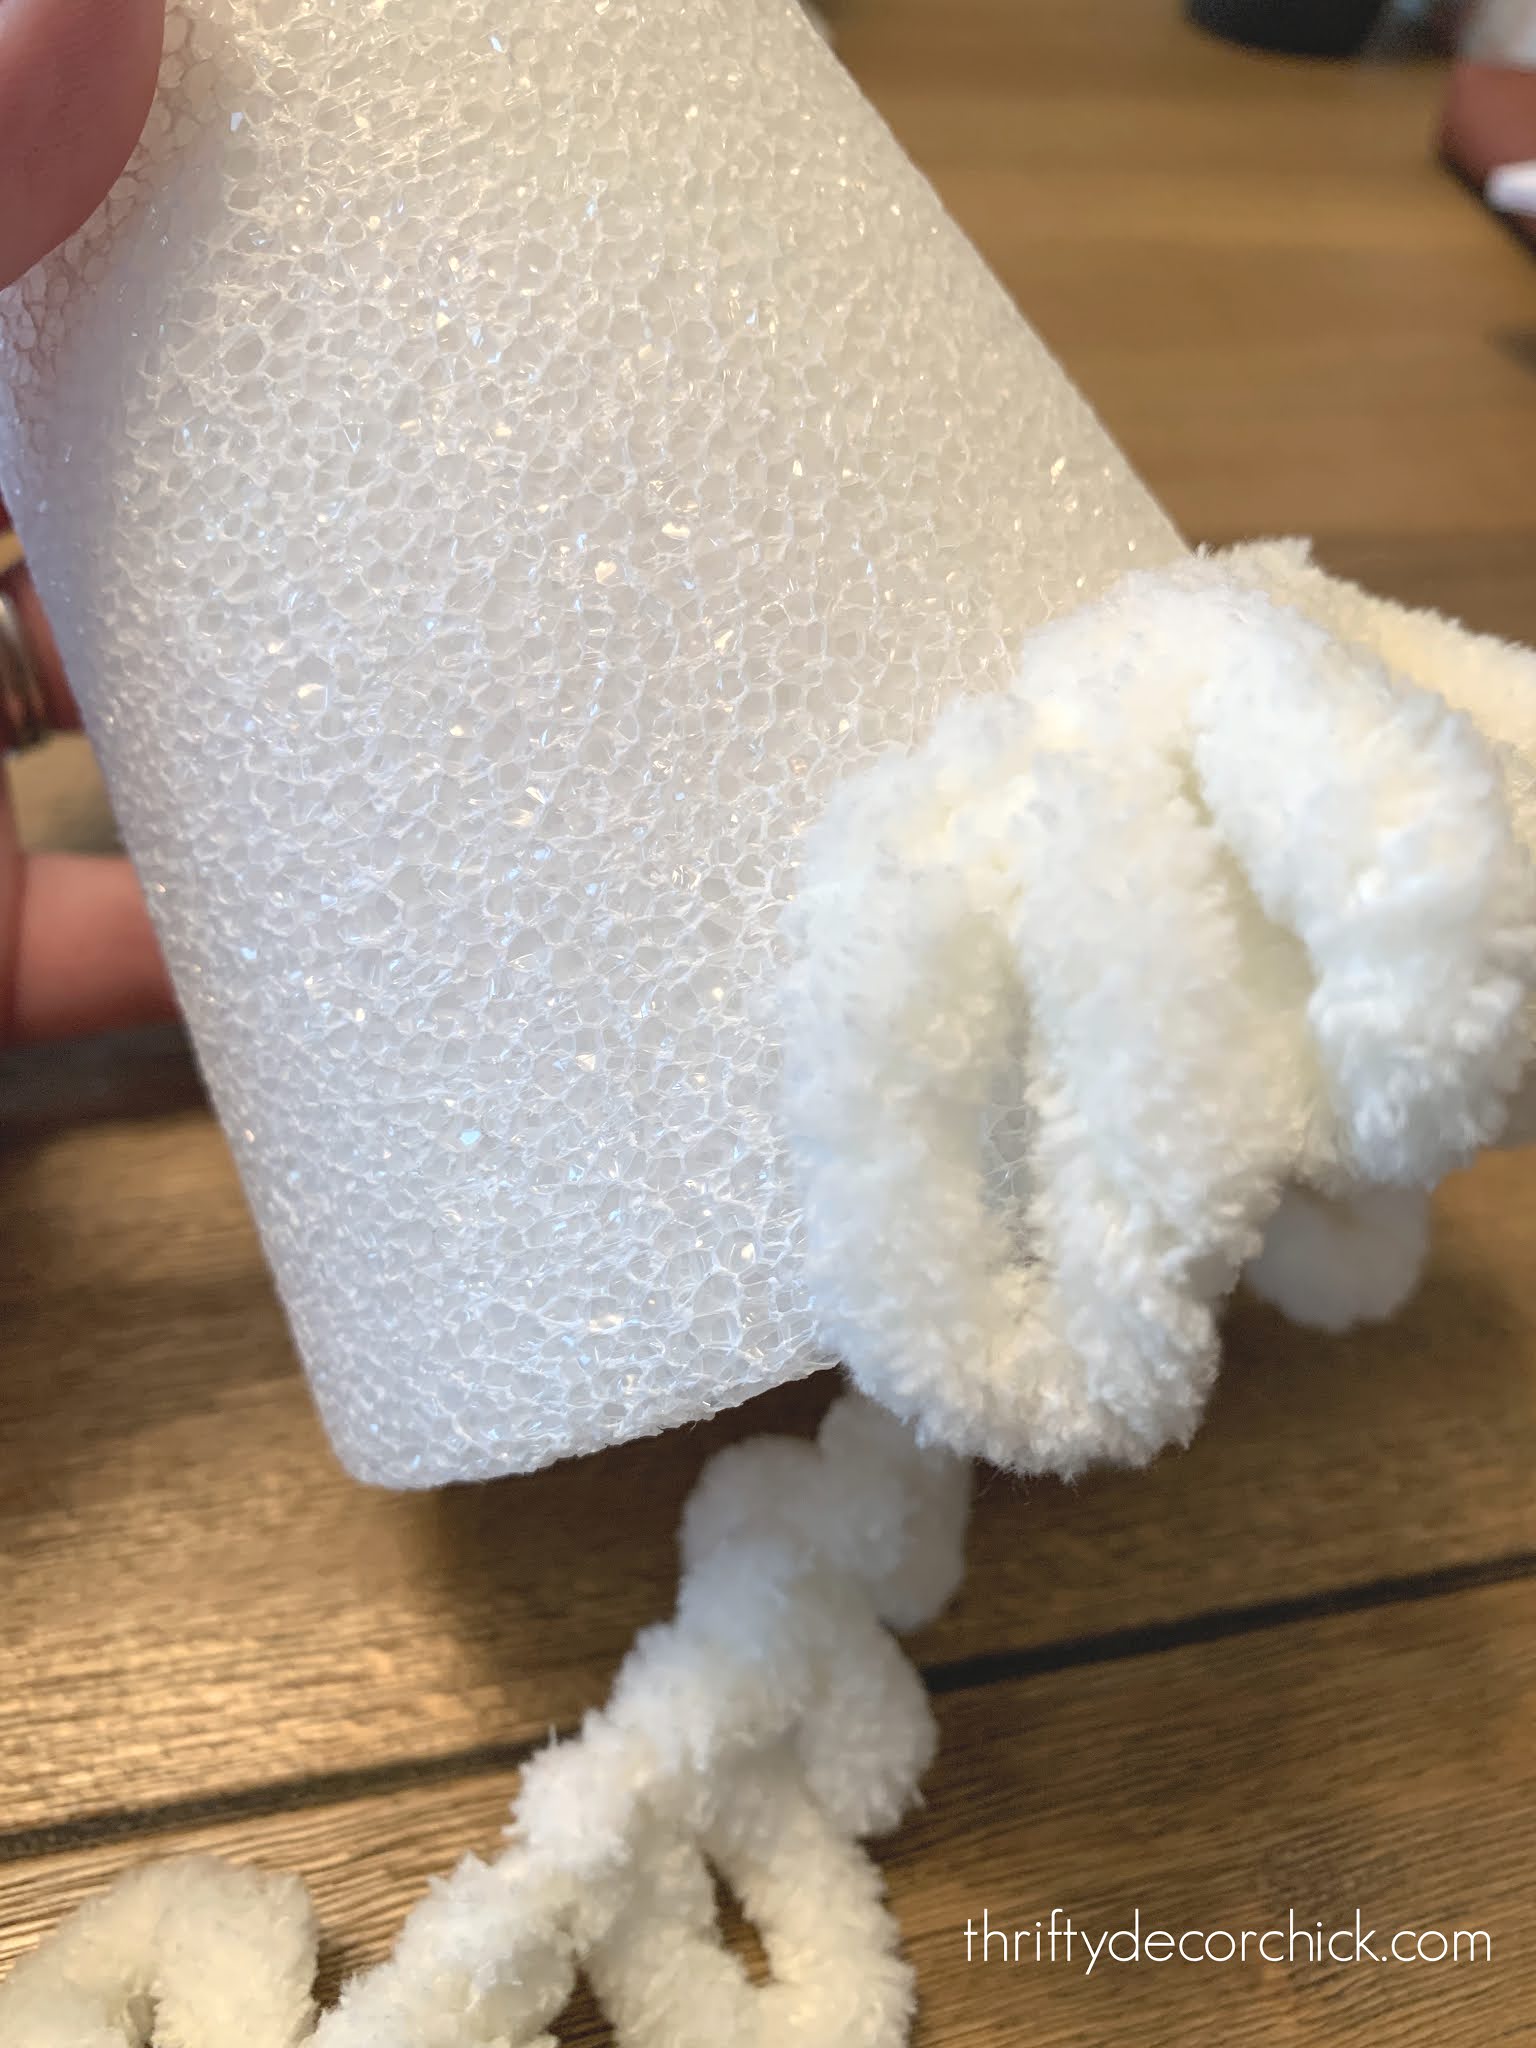
I started the first line of yarn about an inch from the bottom because this yarn drapes so much.
I went up about 3/4 inch to an inch each pass around the cone:
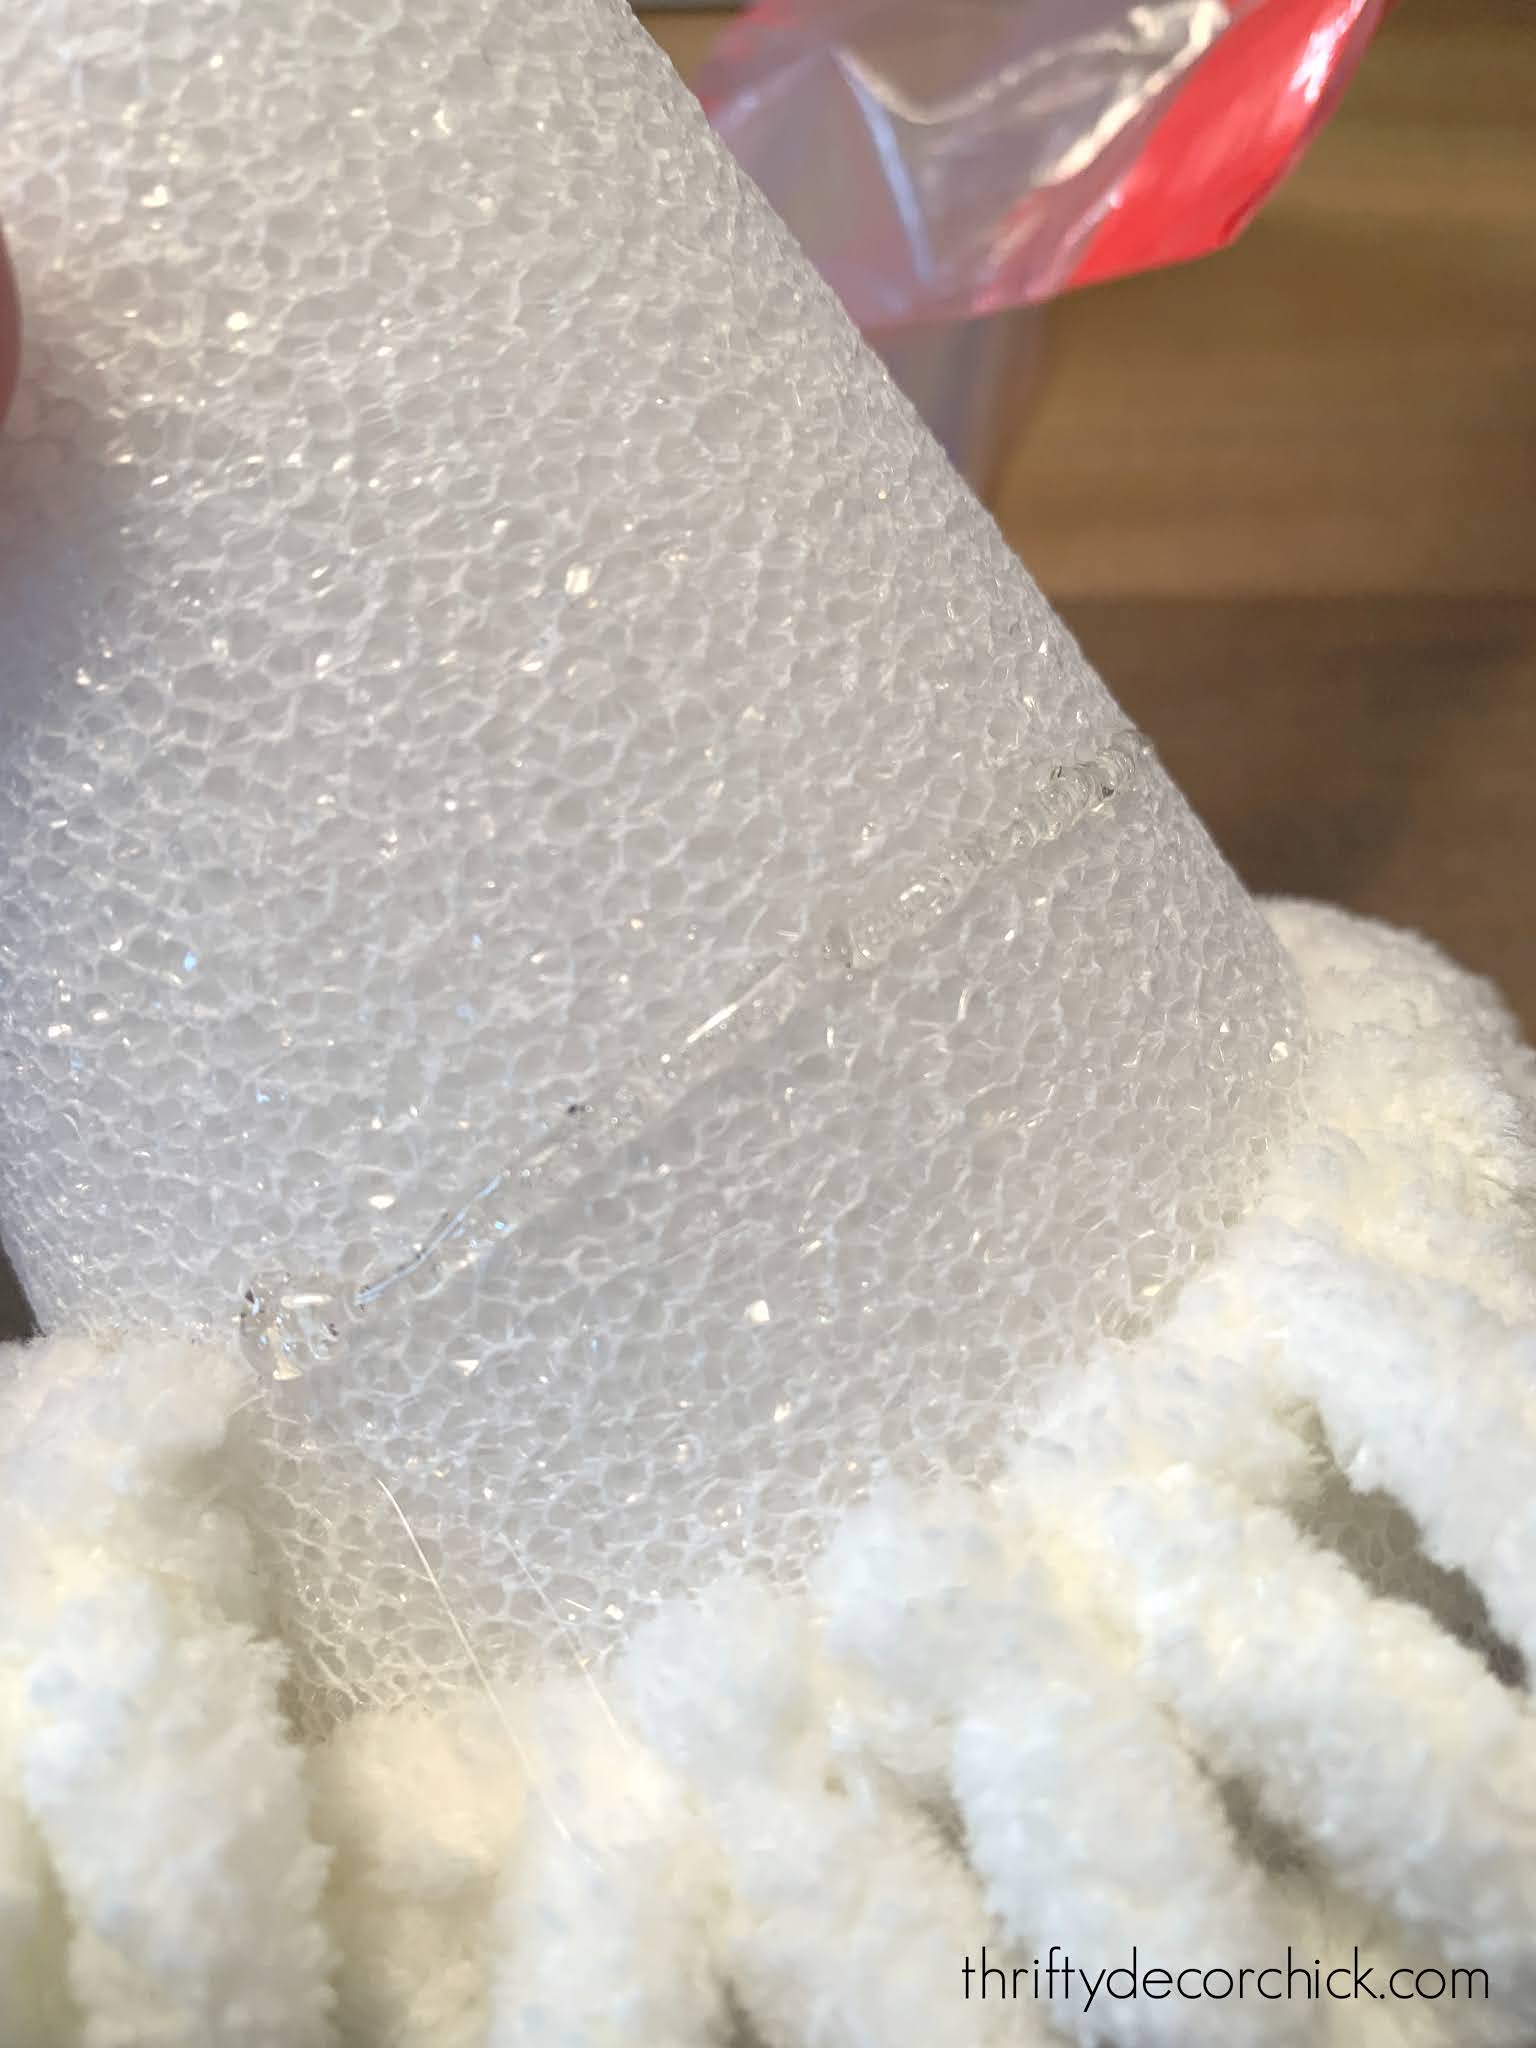
Just do a bead of hot glue and then lightly press the top portion of the yarn along the glue.
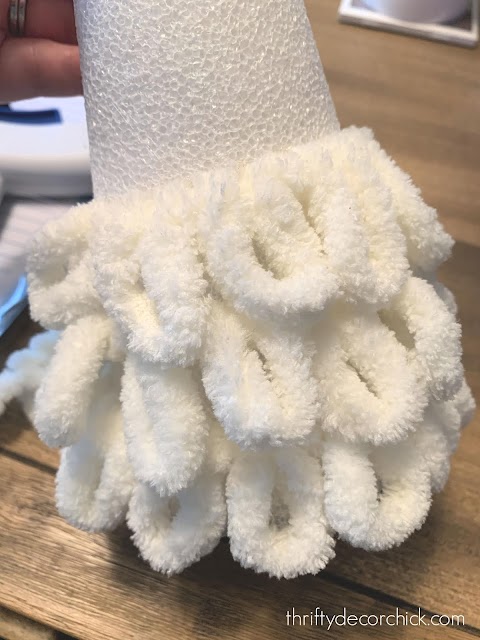
I just kept wrapping…this was a great mindless craft to do while watching TV.
They go together fast:


When I got to the top of the very top of the cone, I cut just enough excess yarn and then wrapped it up on the very tip with hot glue.
This finger knit looped stuff is very forgiving!
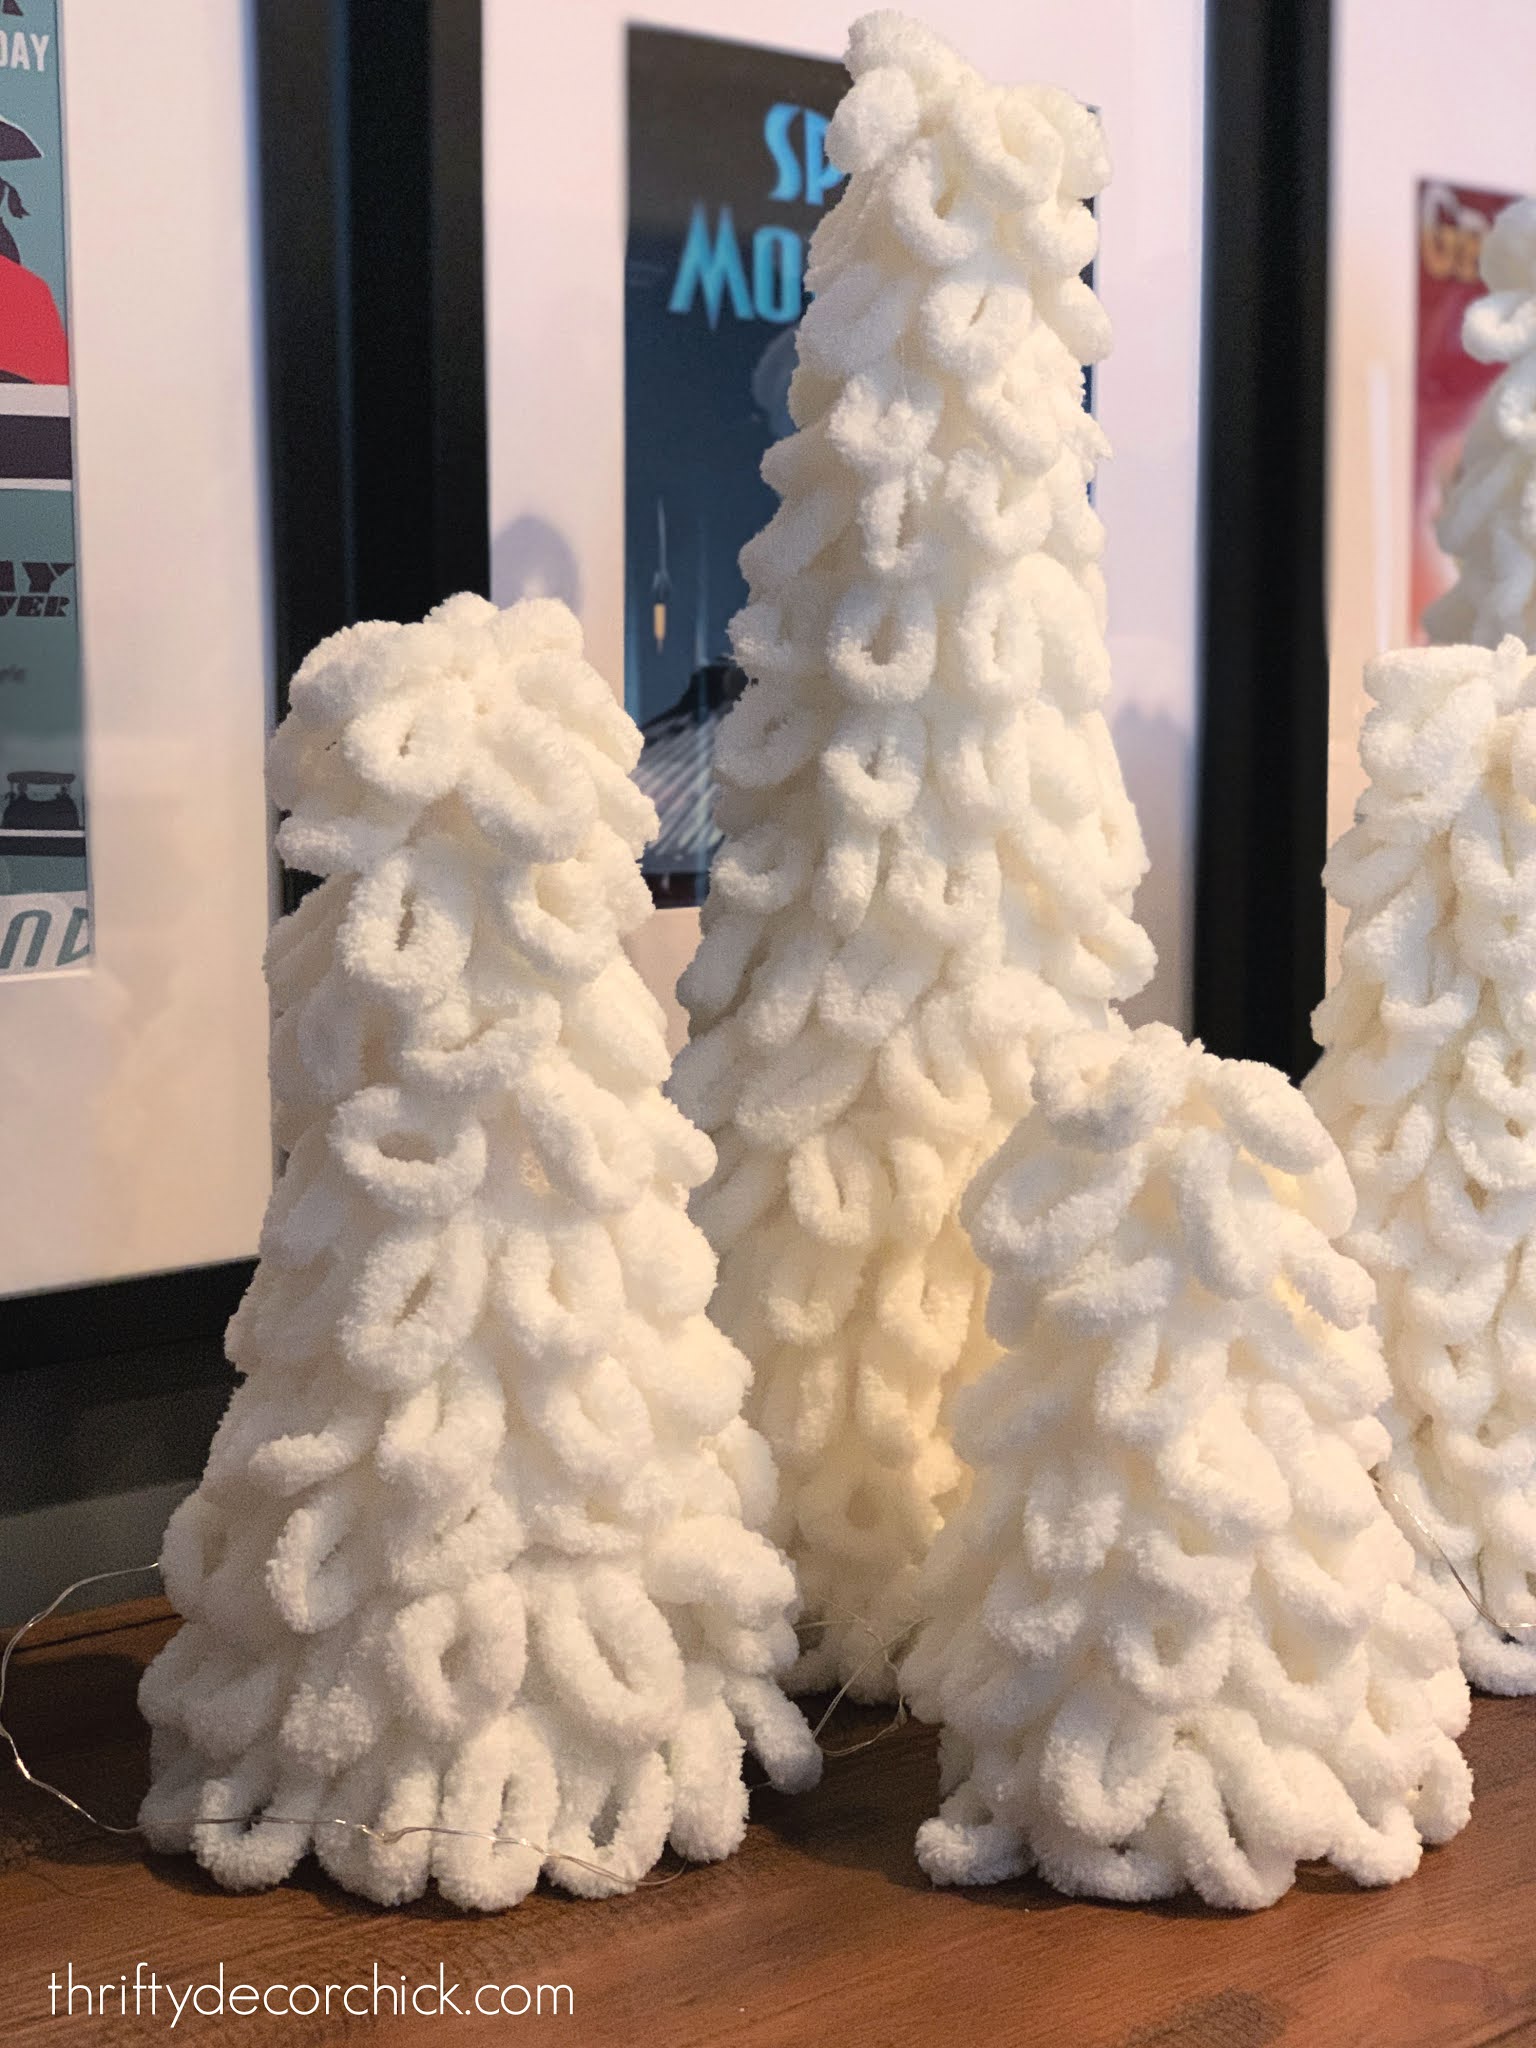
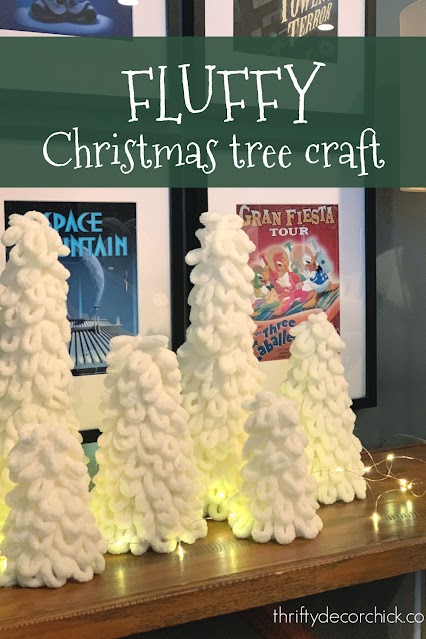
I did three different sizes — one was about six inches, one was 11 inches and the final was about 17 inches but I cut those two down a bit:
You can find all of the foam cones I used here! I used one skein of yarn for all the trees and had a bit leftover.
It’s like a snowy, fluffy forest! 🙂 I think they are the cutest.
You don’t even have to do anything to cover the white foam — it disappears behind the yarn:

I giggled every time I finished one. They are adorable and SO easy and inexpensive!
The foam products are often on sale, or you can use a coupon at one of the craft stores.
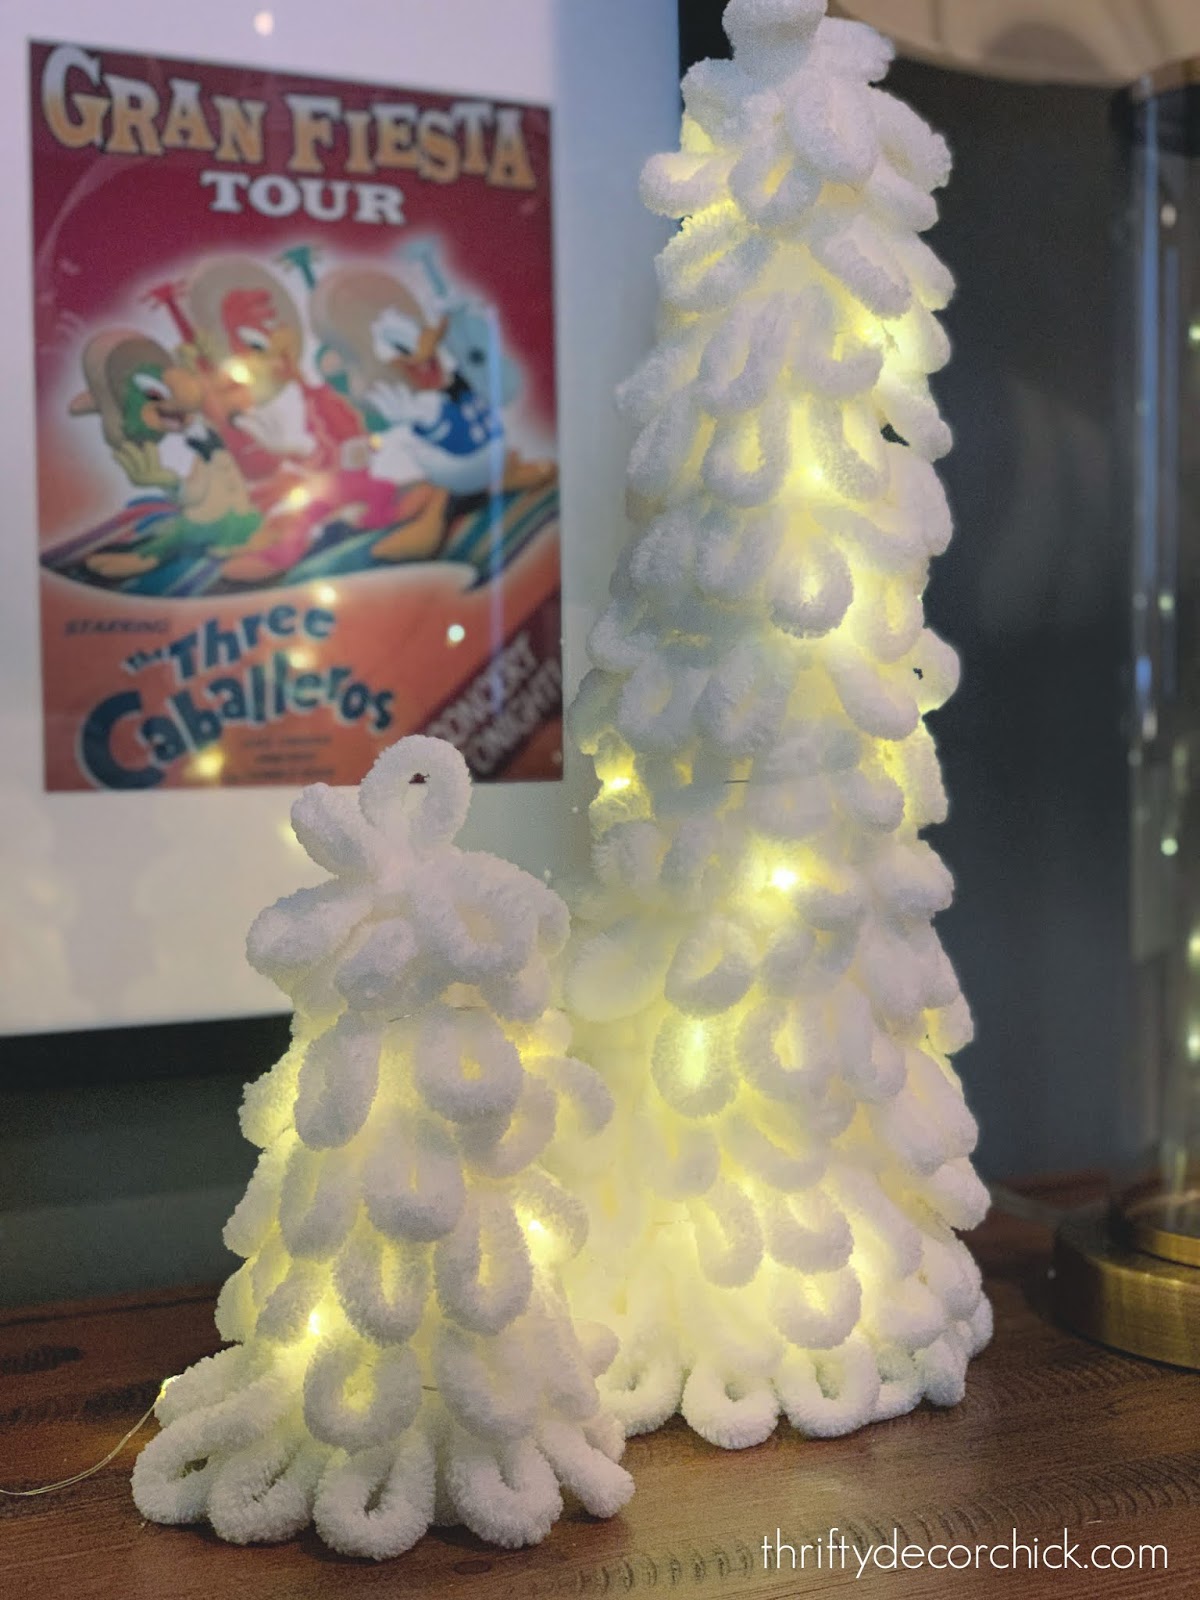
I added some of the fairy lights I showed you here for a bit of twinkle:
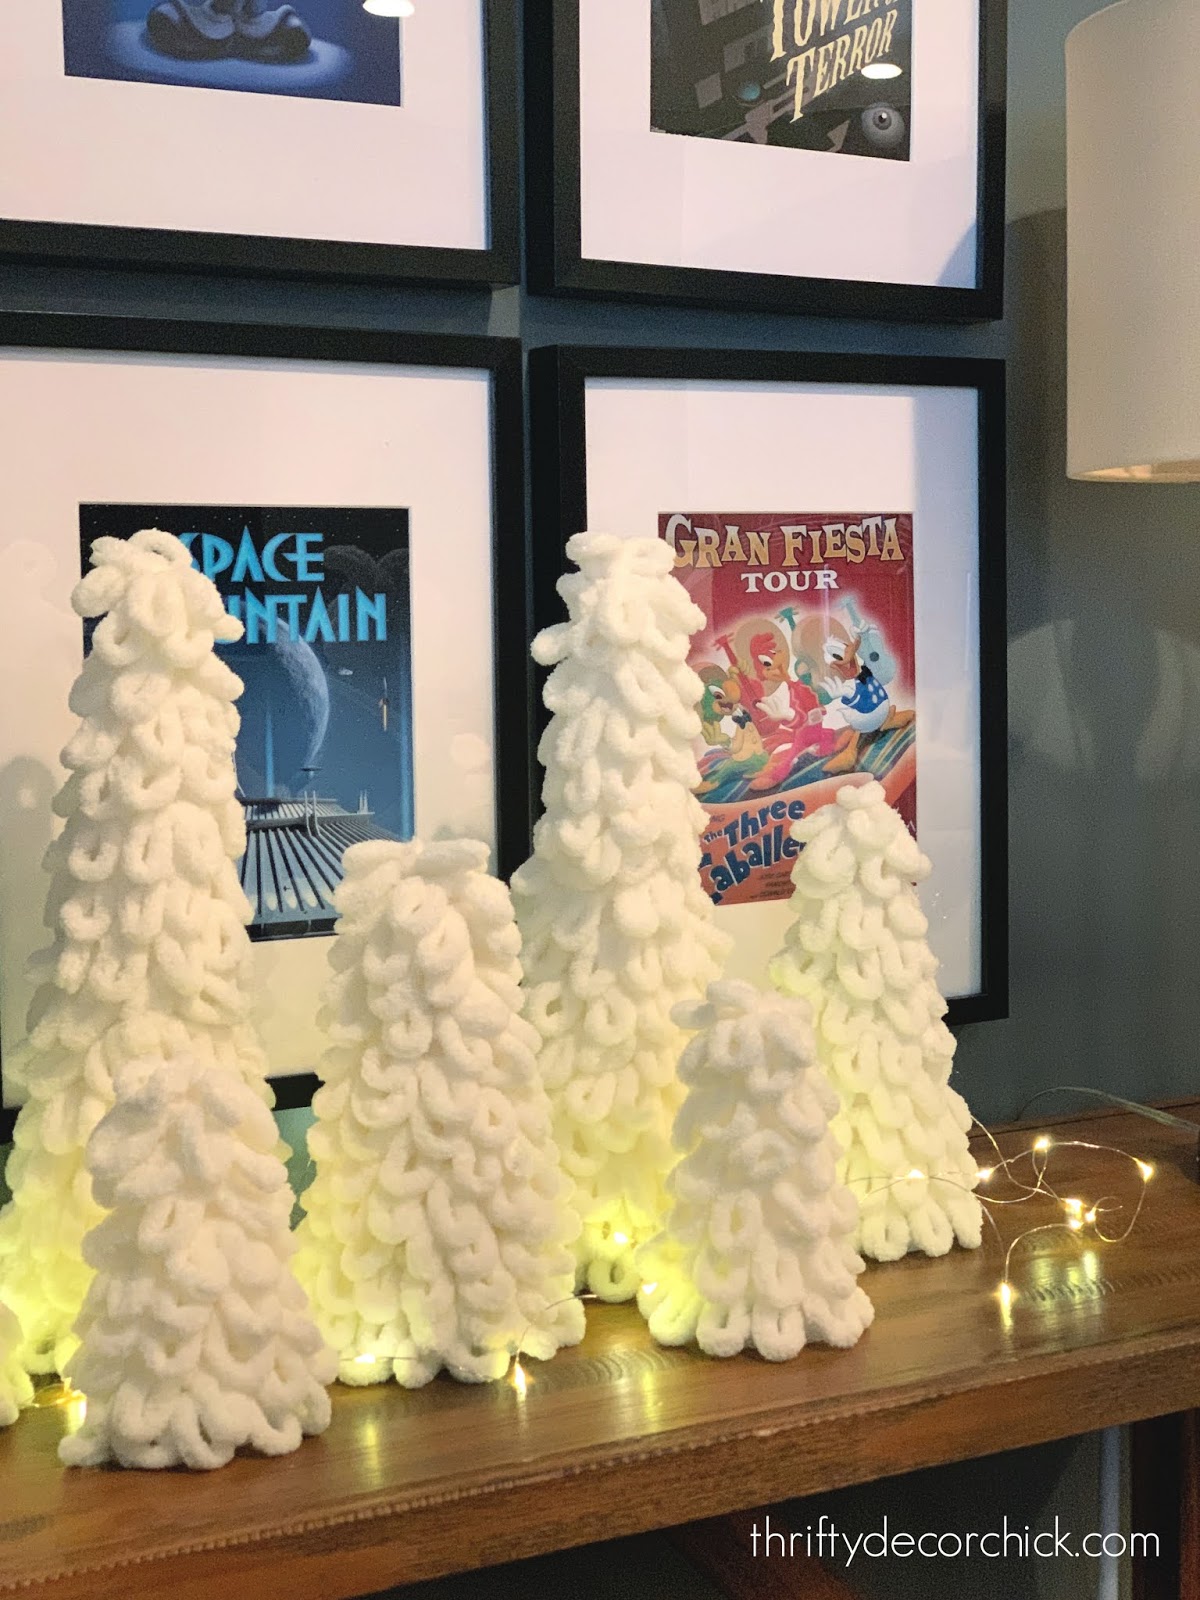

You can also have them glow from “inside” by running those tiny lights under the yarn around the tree:

You can dress this Christmas tree craft up in so many ways!
- Add a pop of color by sticking in red beads here and there to look like berries.
- Use embellishments like these adorable tiny plaid bows, mini pine cones or holly berry leaves throughout the trees. (I may have to add those bows!)
- This would be a REALLY cute idea for a kid’s room in a variety of bright colorful yarns.
- Stick a small dowel rod into the top with a star or angel glued on for a finishing touch.
- Pom poms glued all around or attached with pins would be adorable as well!
I wanted something simple but fun on this table in our basement and these were perfect!
I went super cozy and a bit rustic with the decor down there, so they fit right in:
 |
| See more about our Disney prints here! |
I love our “snowy” fluffy trees! I think they may have to go on the mantel next year instead. 🙂
I used the Bernat brand finger knit yarn (here are all the colors they offer!) but the cream seems hard to find right now. This one looks identical, you just don’t get as much.
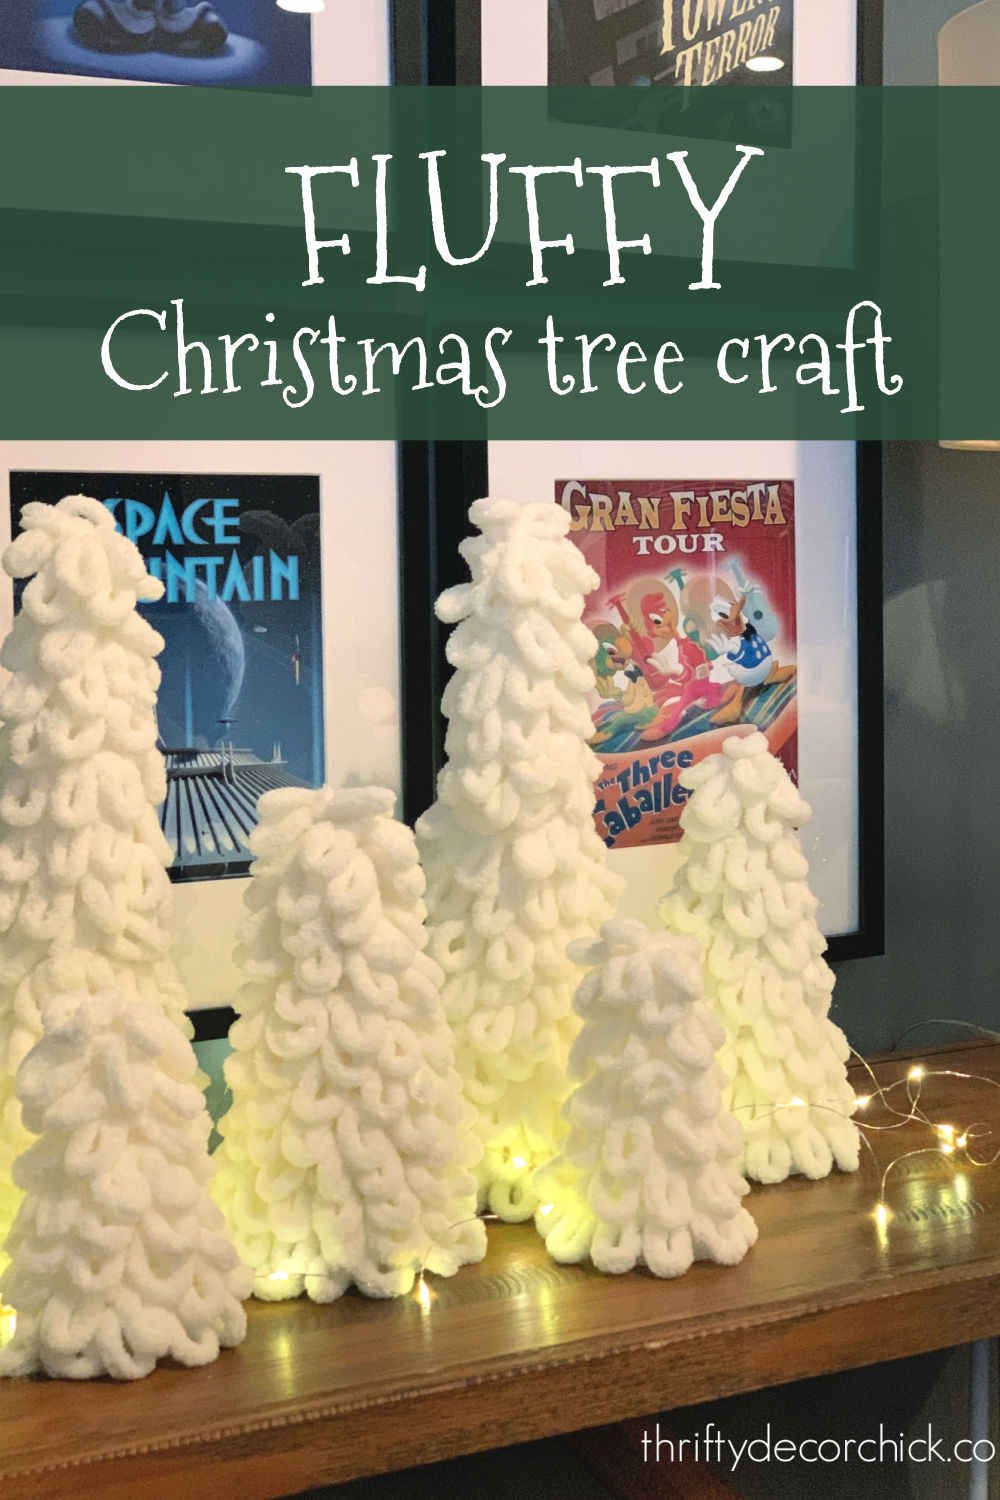
You can pin this craft for later using this image:
Now I’m off to make a scarf with the remaining yarn I have! 😉
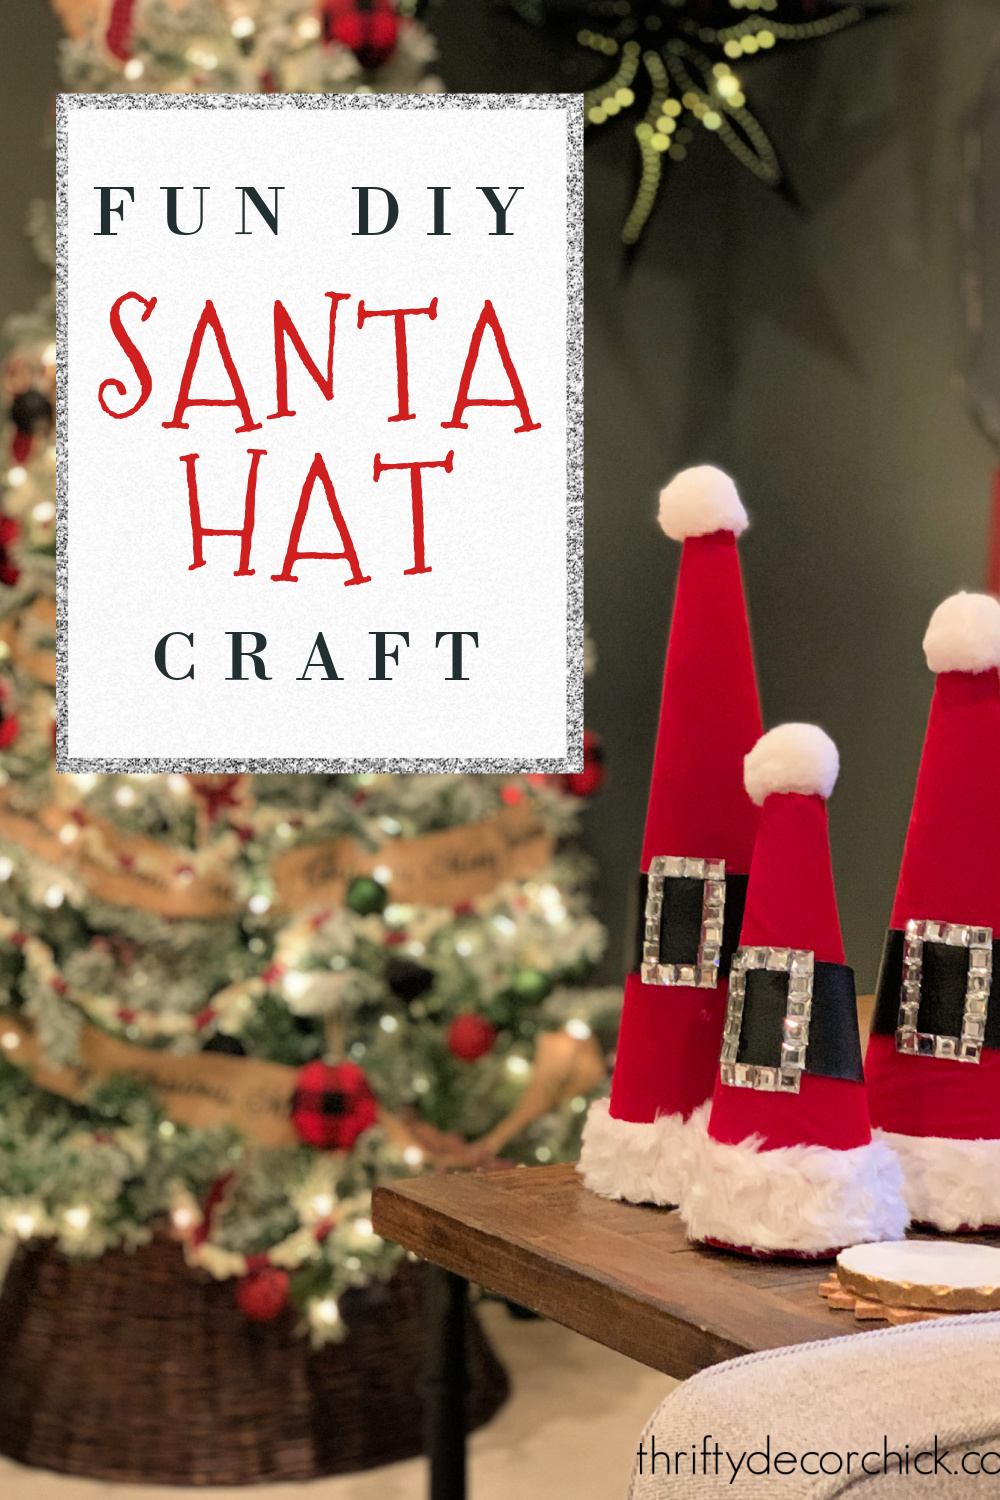
If you have extra foam cones laying around when you’re done, try my Santa hat cone craft:
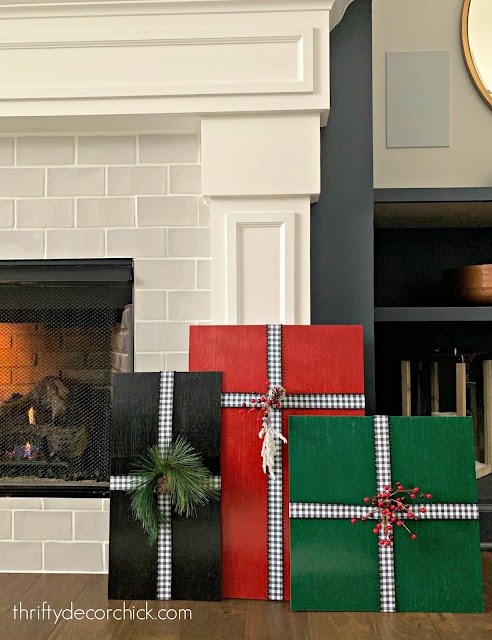
Check out a bunch of my favorite, easy Christmas crafts here!
Never miss a post by signing up to get posts via email.
